 The boys in the Beds and Bucks group have been encouraging me to try building brass kits with solder. I had no idea where to start. Luckily David Gander lent me his soldering iron and taught me what to do.
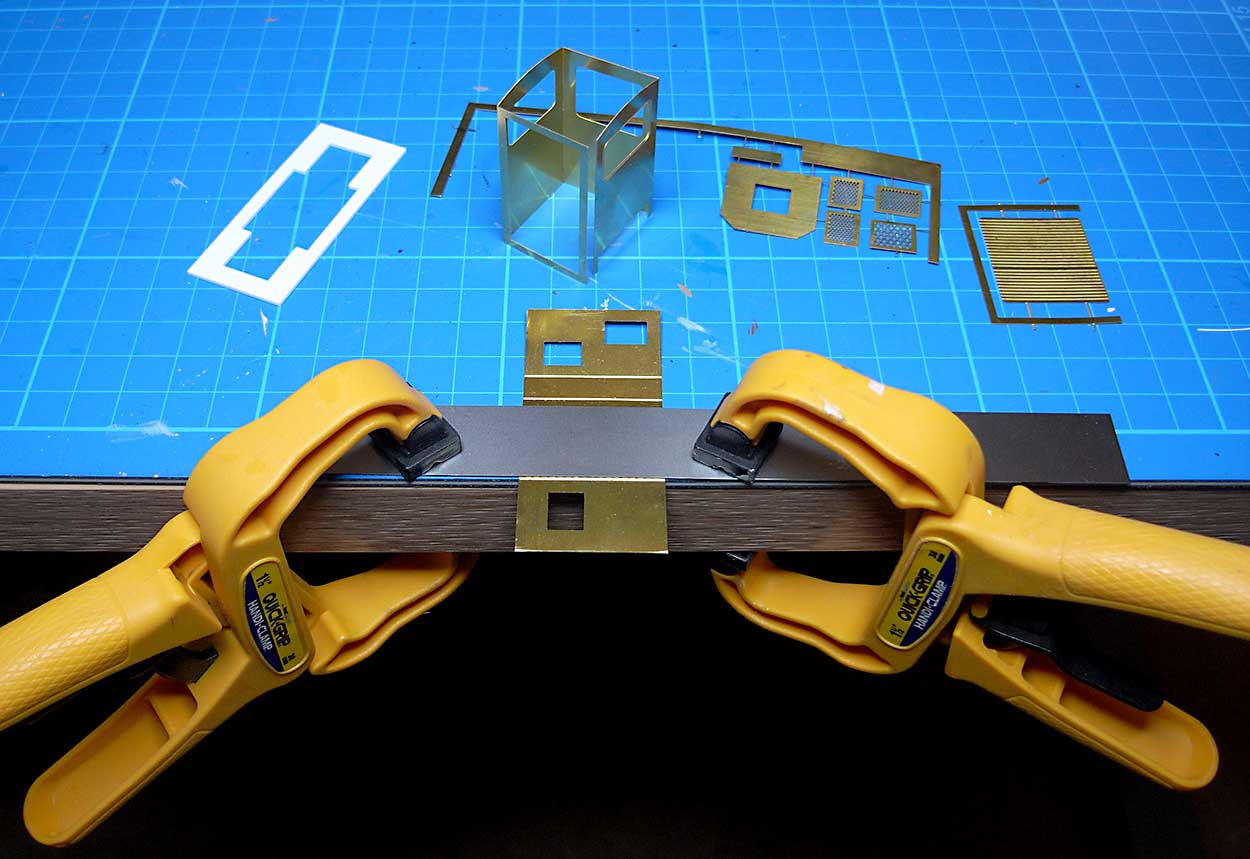
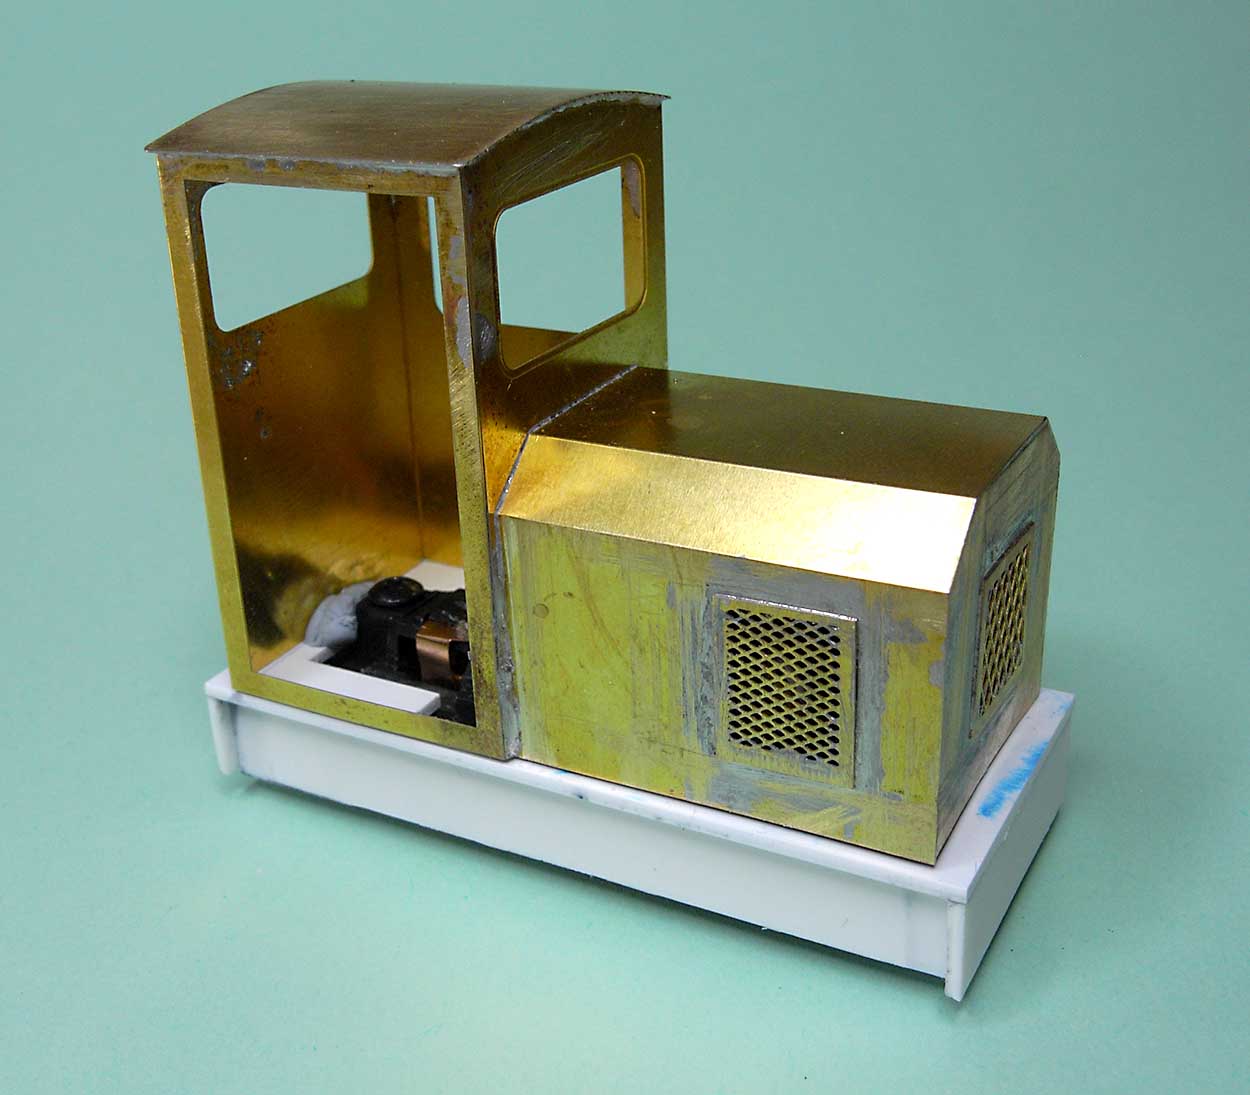
As a simple starting point I brought an A1 Models O9 Hunslet loco. It seemed an easy place to start. A boxy loco with square joints, and plenty of room inside. First, I cut out the parts and bent them to shape.
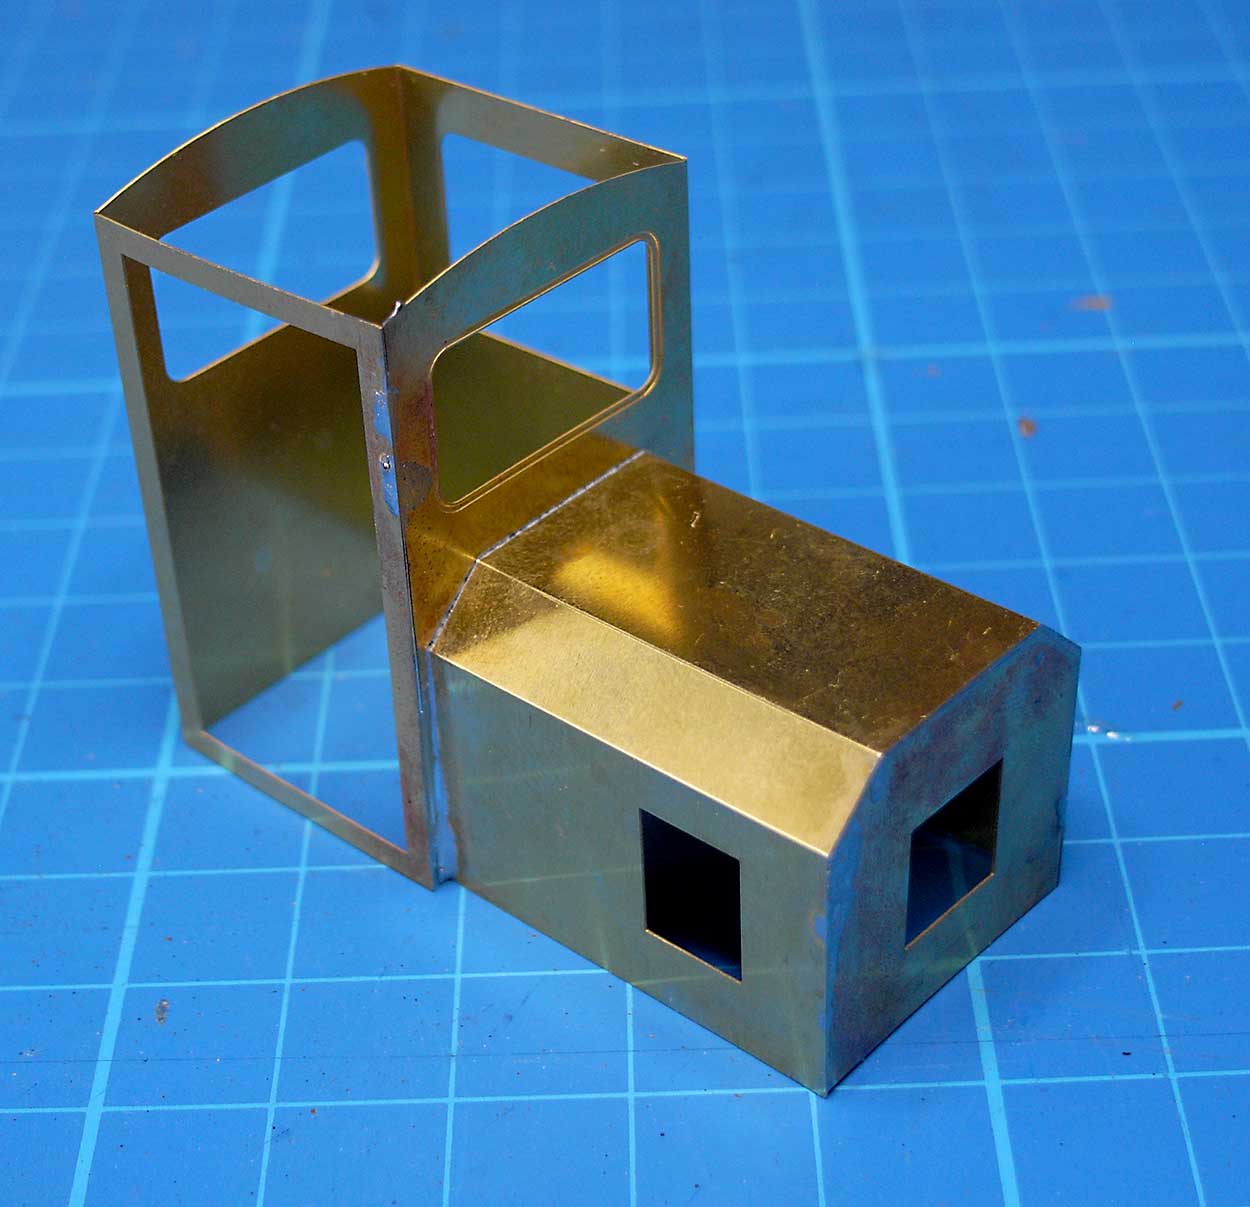
In one of the Beds and Bucks modelling meetings David took me through how to clean, flux, tin and solder the joints. In about 30 minutes we had something that looked like a locomotive.
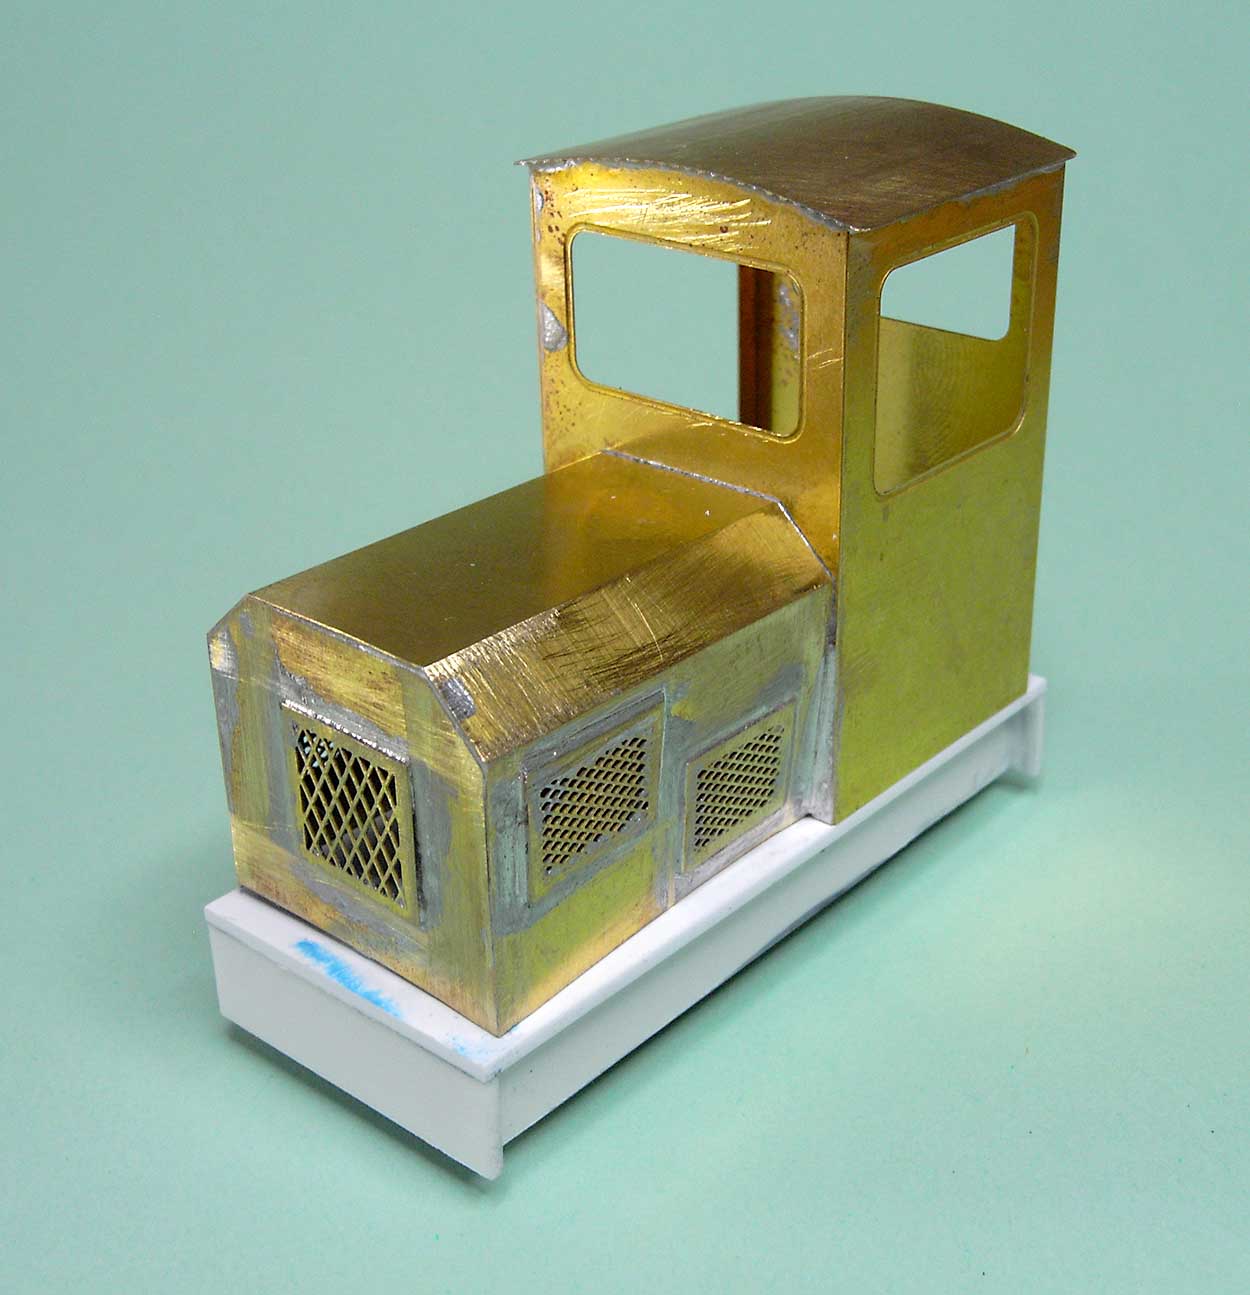
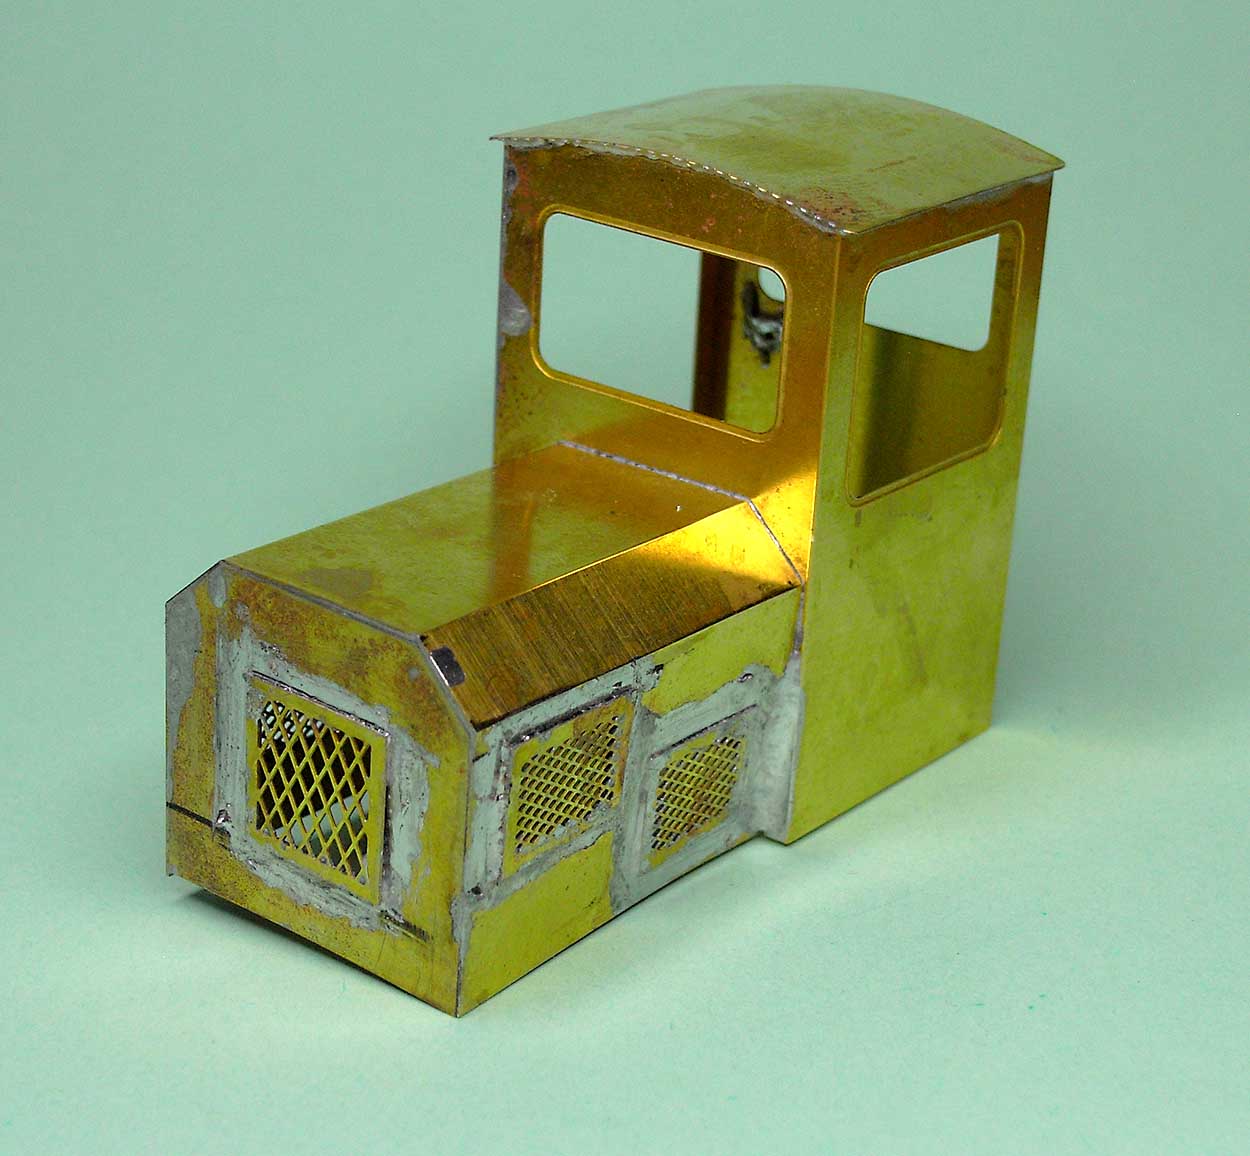
I finished the loco at home.
Soldering is easier than I expected. Also, it’s an instant joining technology. Melt the solder, remove the iron and the joint is set. There’s no waiting for glue to dry which is a nice change. Plus it’s reversible. If you get it wrong, melt the solder, separate the parts, clean things up and try again.
I’m putting too much solder on at the moment, but that can be cleaned off easily.
I will definitely try more brass kits. I’ve found it a refreshing change. Many thanks to David for opening up a new area of modelling to me.

look forward to seeing the finished model
LikeLike
Reblogged this on sed30's Blog and commented:
Easy when you know how
LikeLike
Soldering isn’t the dark art some like to think, and those A1 Models kits are an ideal starting point. Just beware of forum advice, sometimes there’s too much conflicting information given out which can only confuse. Keep it simple to start off with, you’ll soon work out which iron/solder combination works for you.
David’s an old friend of mine, a throughly nice chap.
LikeLike
[…] am building a Hunslet locomotive in O9 (7mm per foot, 1:43.5 scale, running on 9mm gauge track) and I decided it would be nice to […]
LikeLike
[…] Hunslet loco I’m building is the first thing I’ve tried to build in O9. When I looked at it I was […]
LikeLike