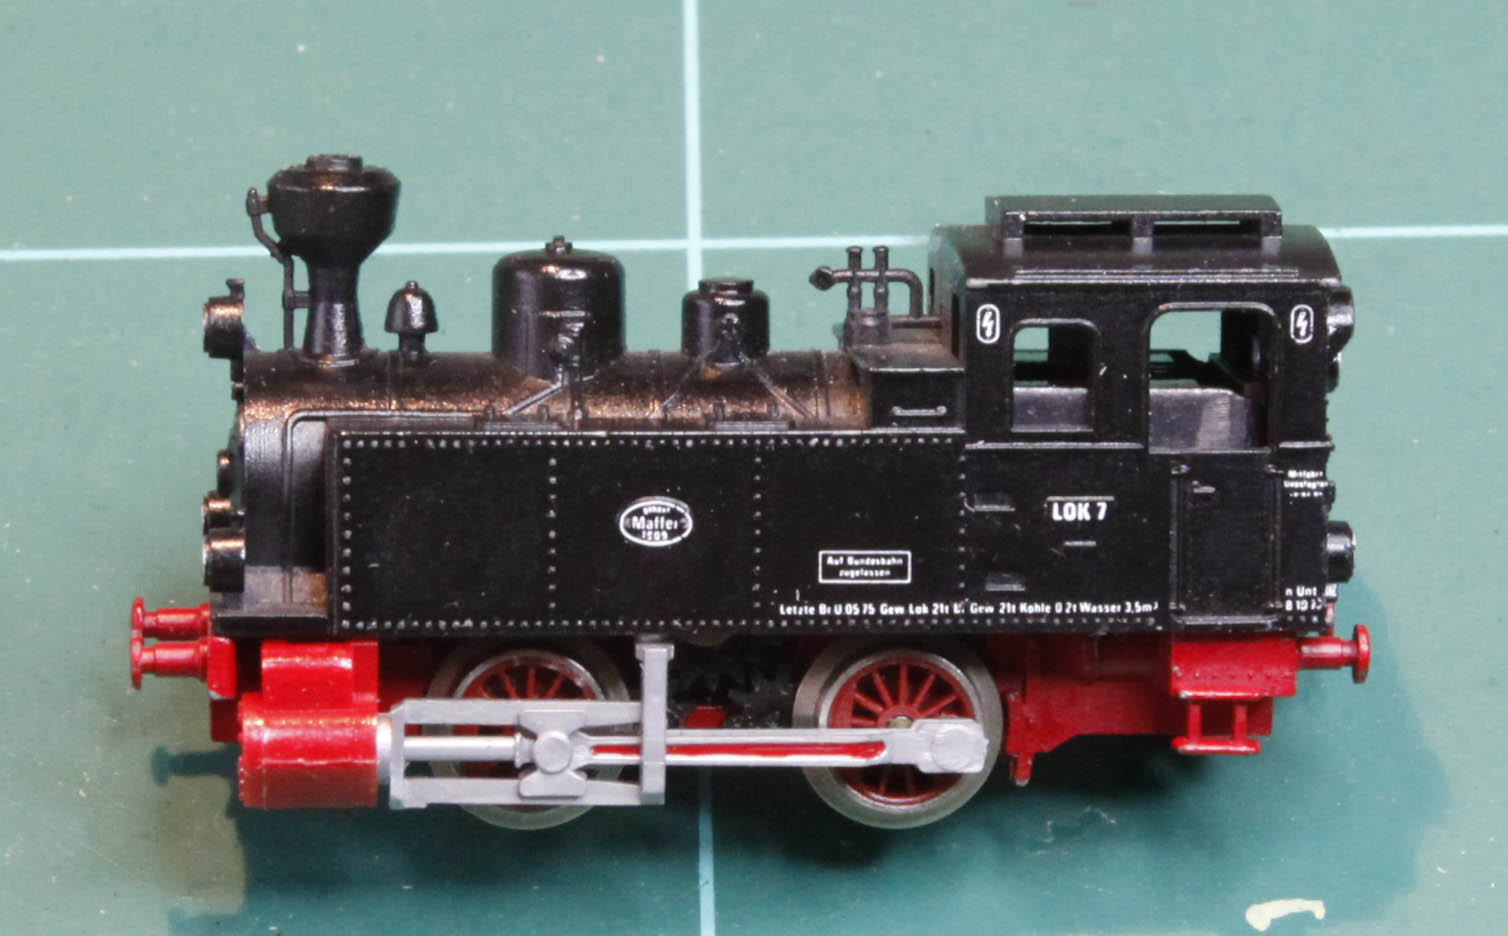
 My next project is a small, freelance 0-4-0 tank engine made by Chris Ward Railways. Chris designed a kit to fit the Fleischmann Piccolo 7000 N Gauge chassis. The kit includes a body, a ‘chassis footplate’, cab roof, a box to add lead weight and a few other pieces. Chris has also designed cylinder covers that slip over the cylinders of the chassis. He sells these separately. I thought they looked good so I brought them too.
The N Gauge loco came from ebay, it’s very continental – let’s see what I can make from it!
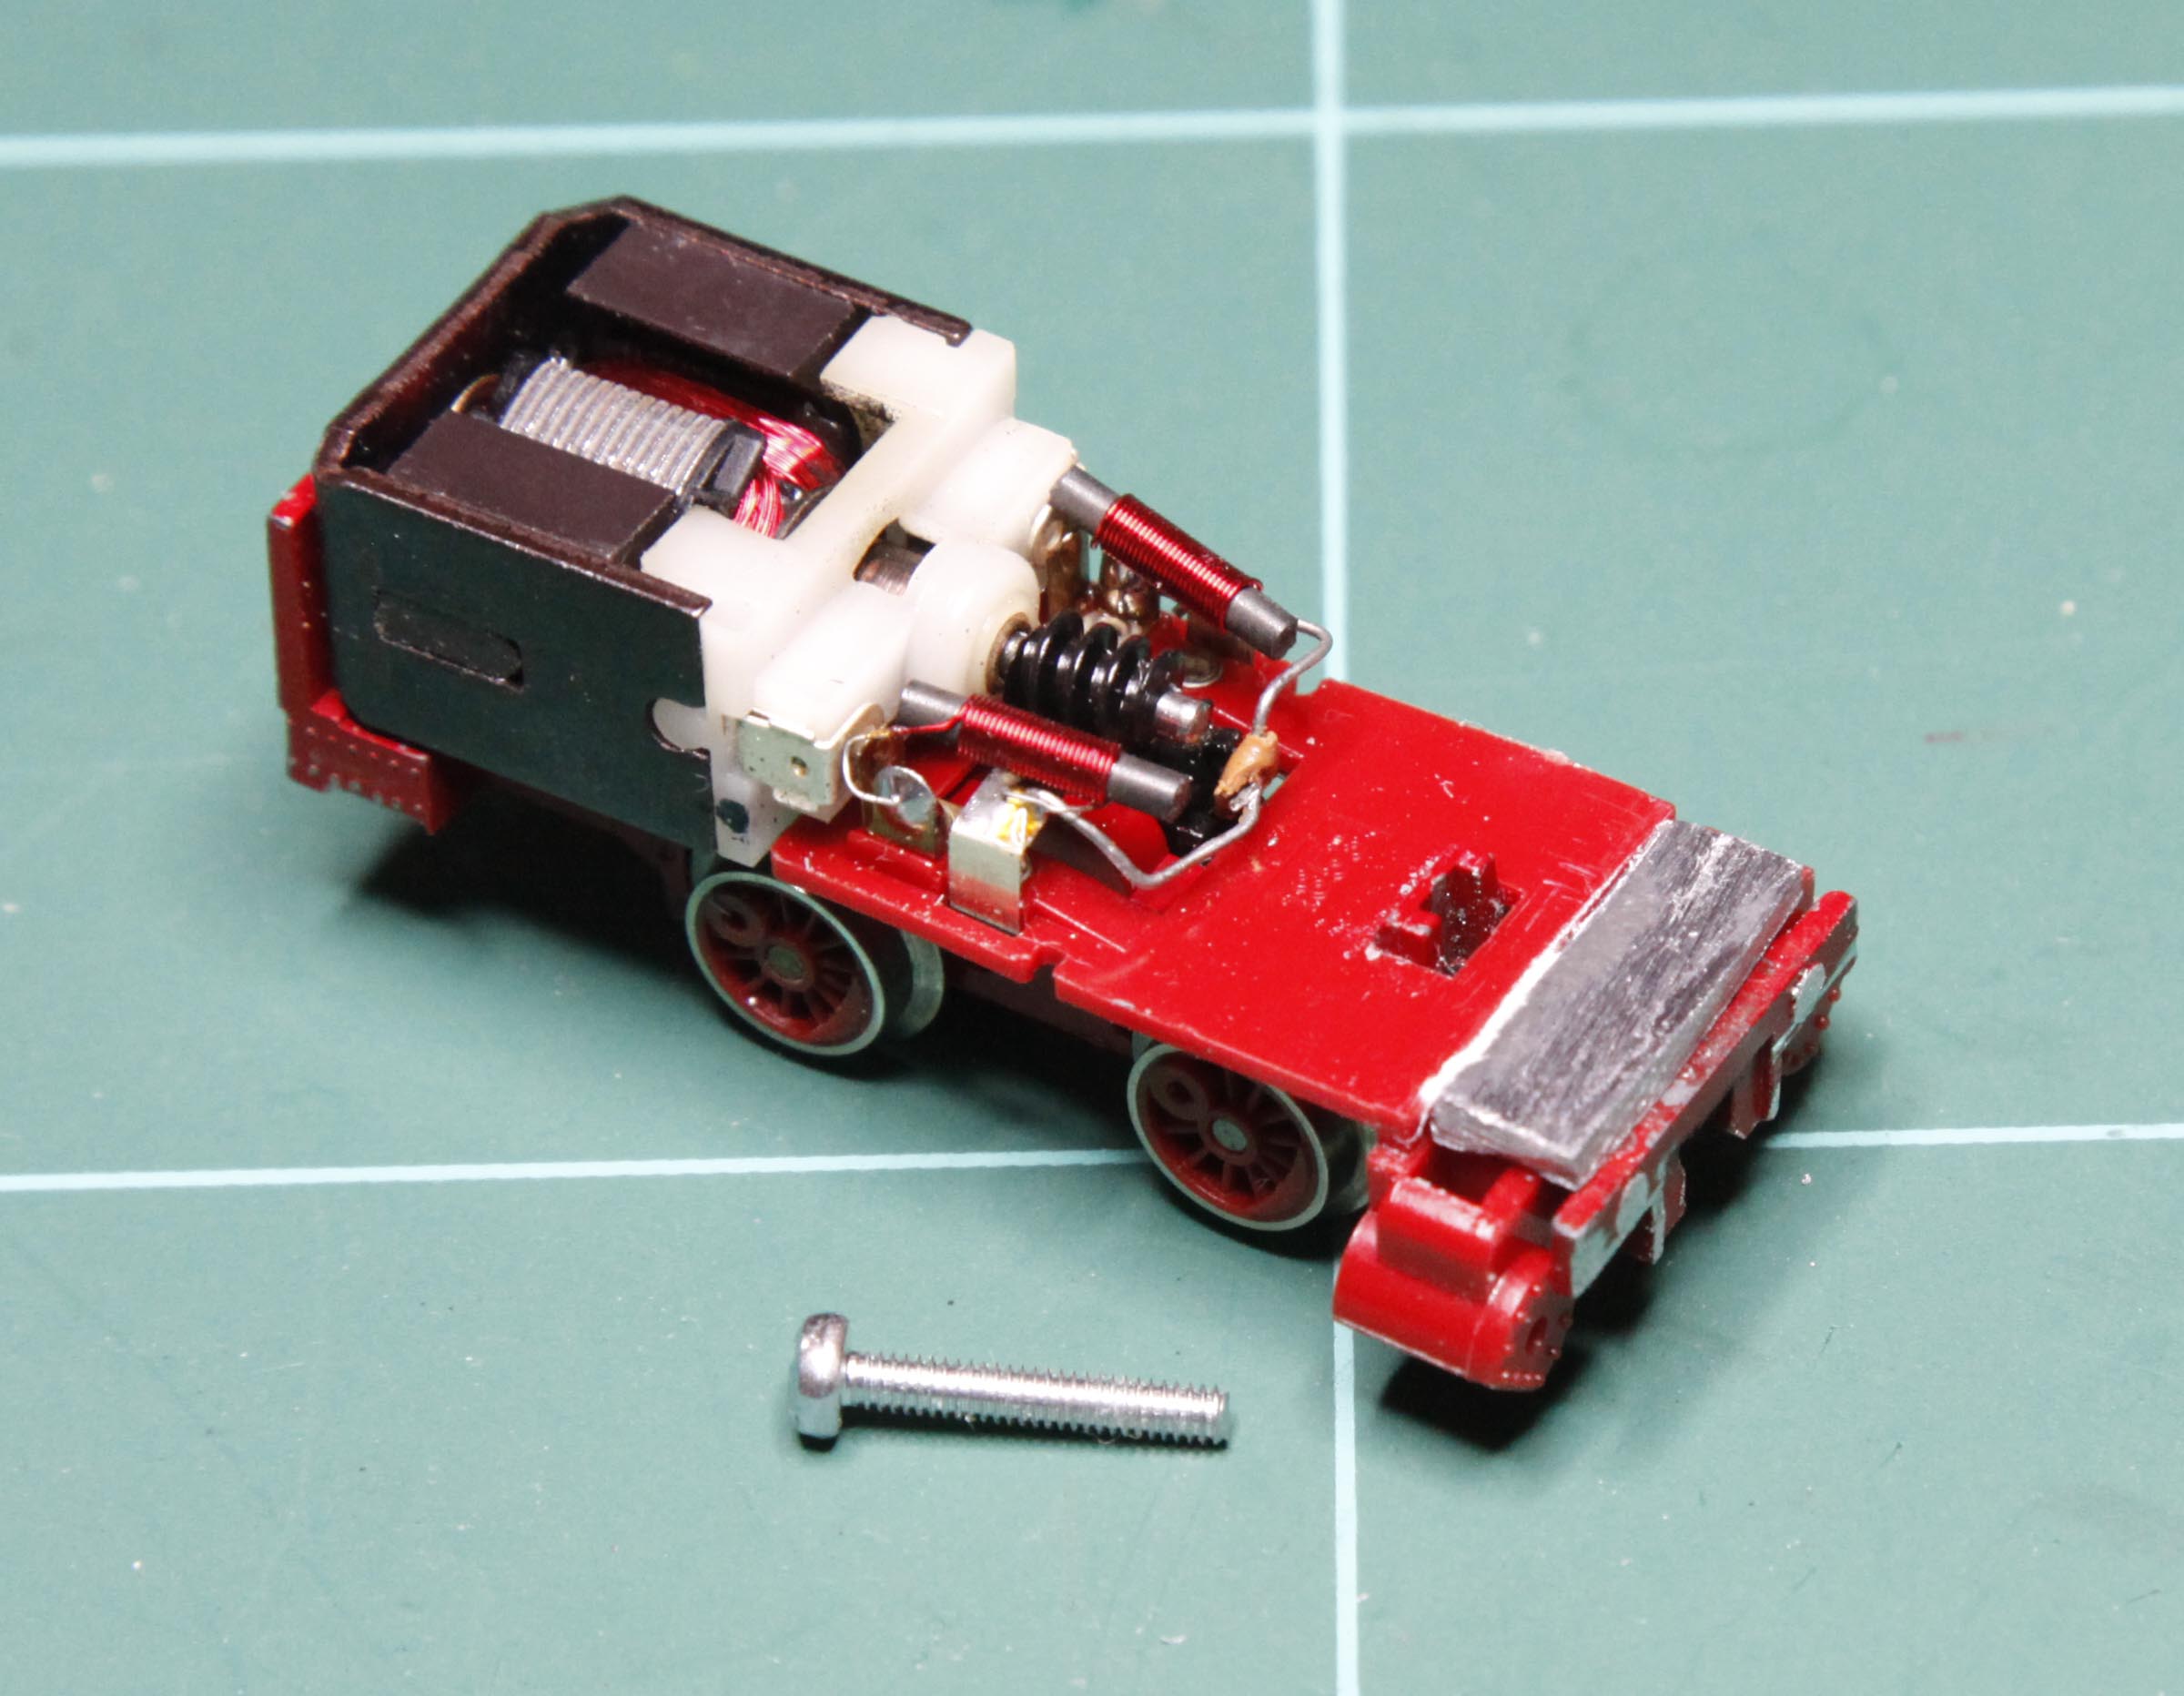
 First, I dismantled the loco to get to the chassis. To enable the ‘chassis footplate’ to fit I cut off the buffers. To slide on the cylinder covers I had to remove the metal pin that held the N gauge couplings. (The front one is removed in the photo and the rear one is still in place, although later I removed this too). I didn’t have a nut to fit the original screw that held the Fleischmann body in place, but I did have a 2mm diameter bolt and a matching nut. I enlarged the hole in the chassis so that it will accept the 2mm diameter bolt. Cutting and drilling the chassis isn’t a difficult as it sounds, you just need a steady hand.

The weight of the motor makes the chassis very ‘rear heavy’ so I took the opportunity to add a small lead packing piece to the front of the chassis over the original cylinders.
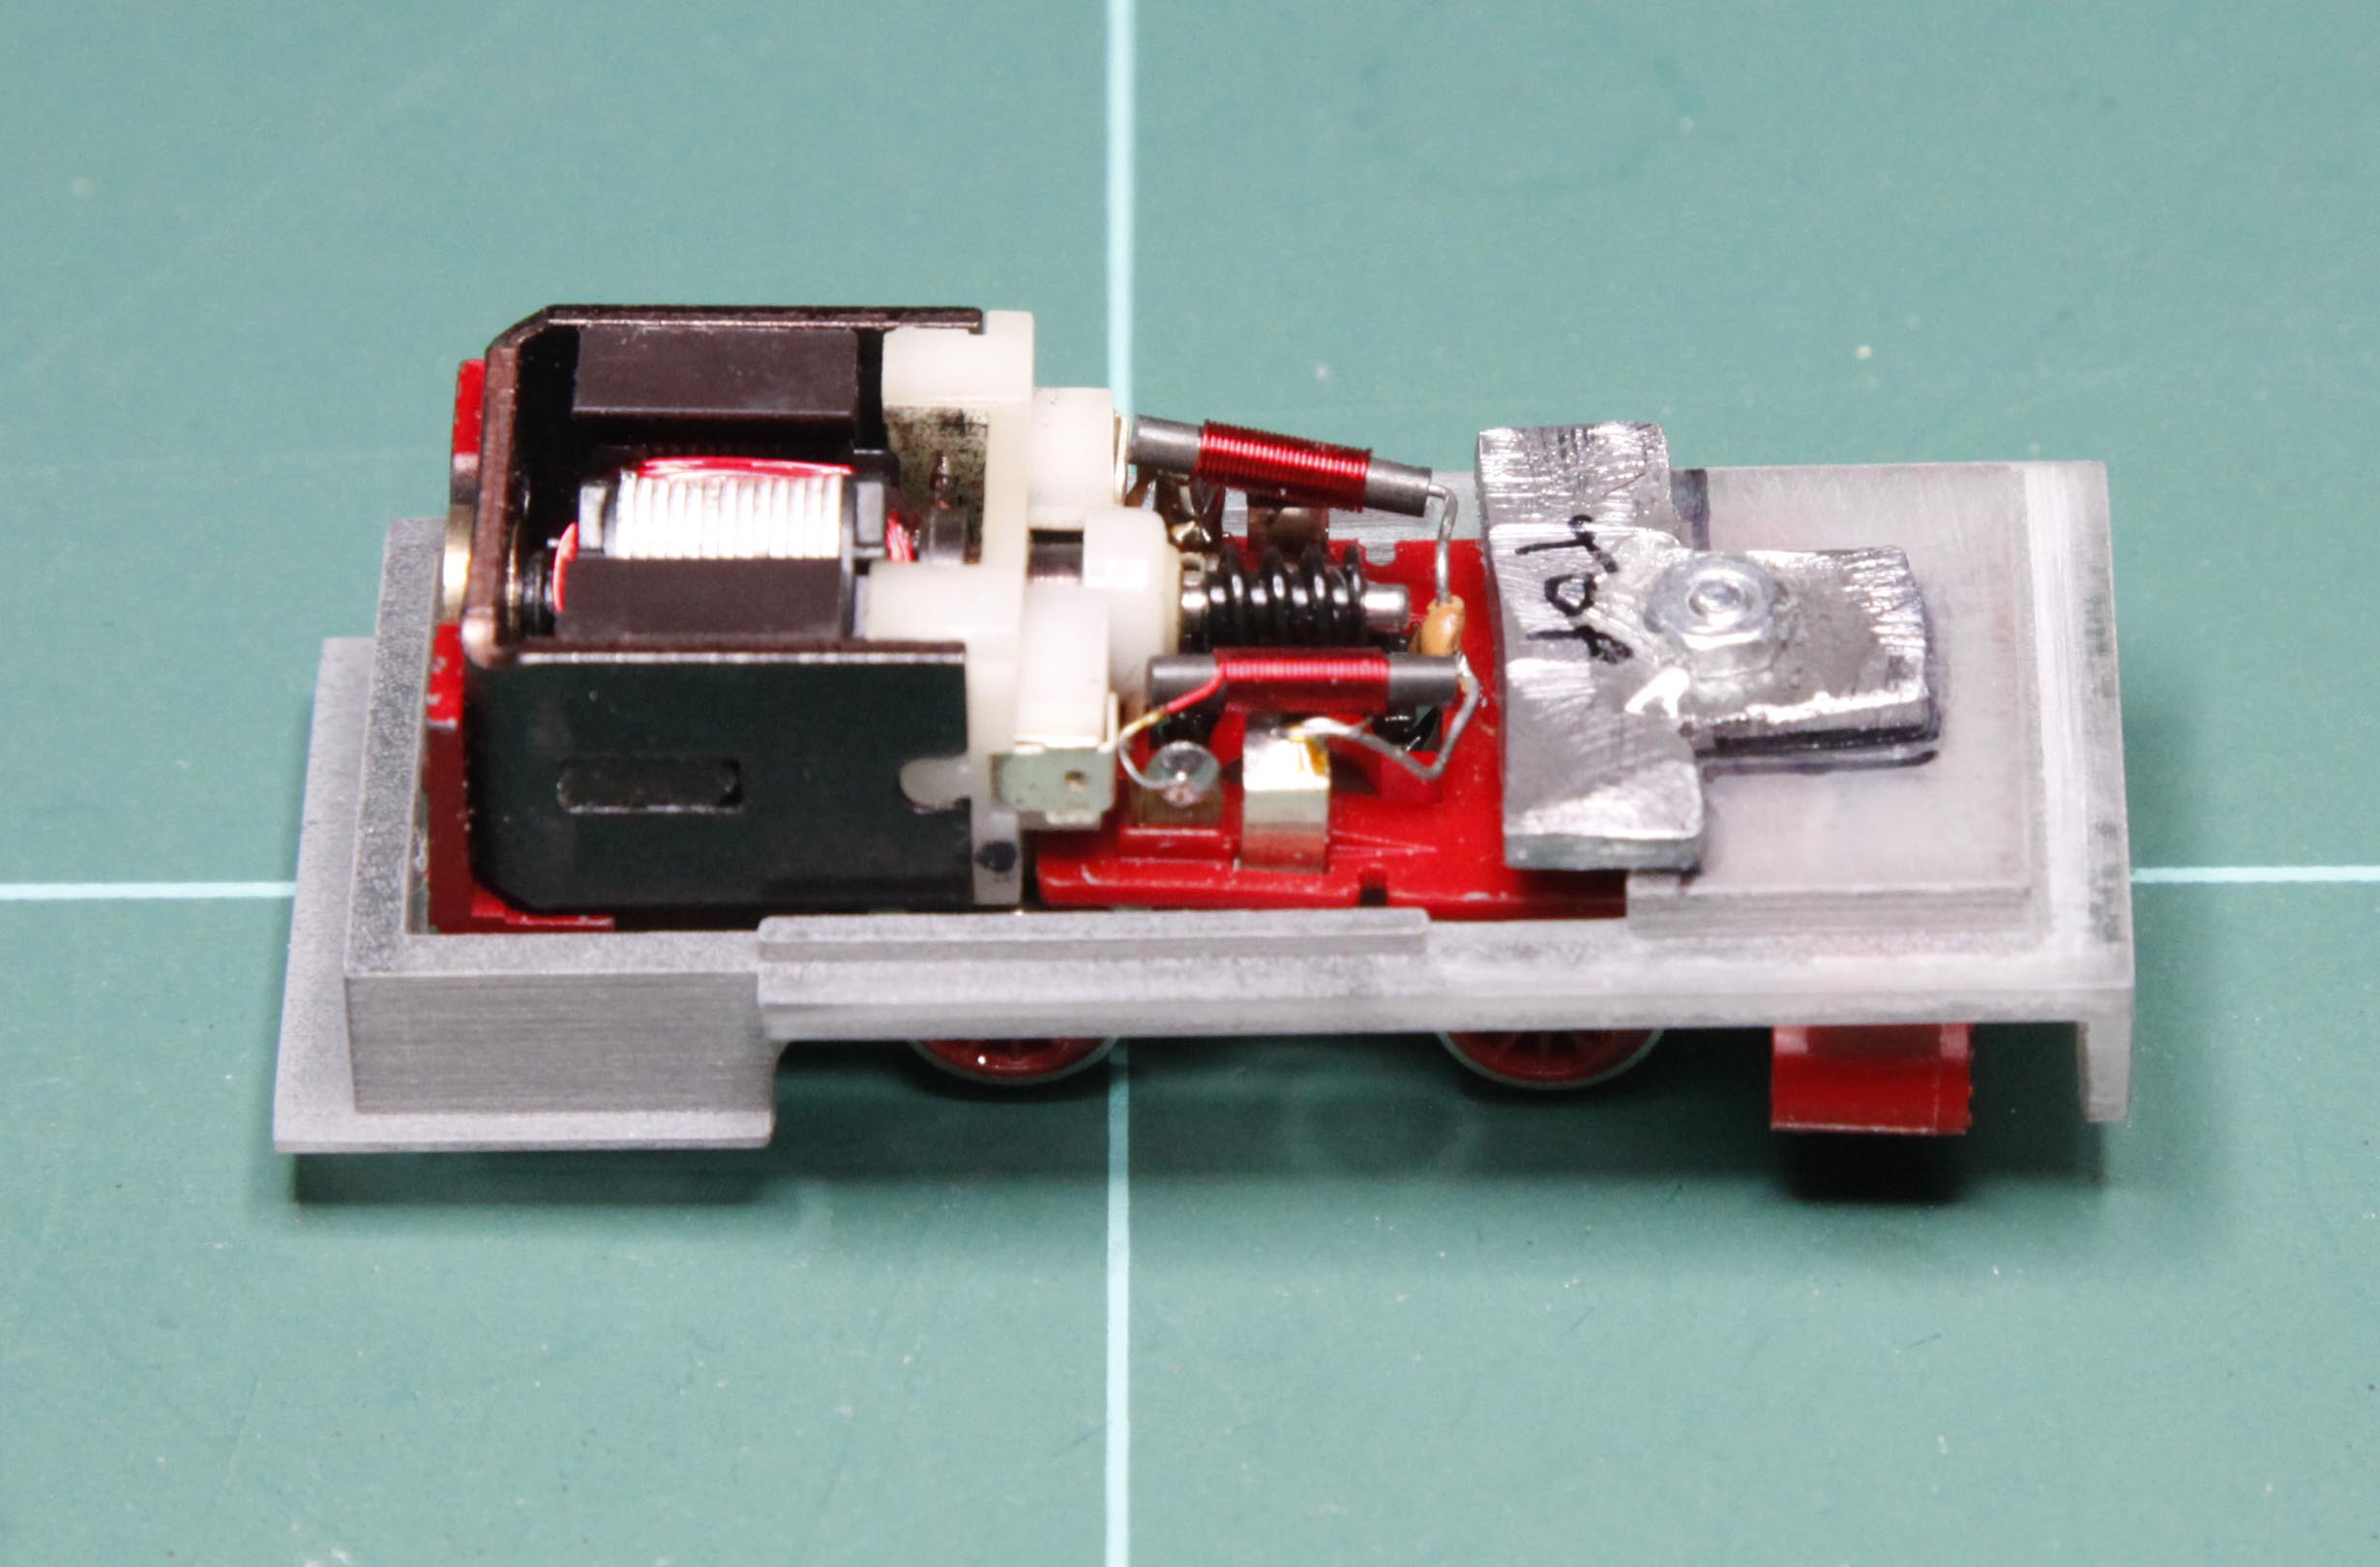
 Finally, I fitted what Chris calls the ‘chassis footplate’. Chris designed a T shaped weight box that fits on top of the chassis footplate, over the original screw hole, and can be attached using the original Fleischmann body screw. I liked the design of the weight box but the plastic is quite light. I wanted to add as much weight as possible inside the body so I chose to omit the weight box and pack the body with lead. I made a small fixing bracket from lead sheet and glued a nut to it. This allows me to fit the chassis footplate to the chassis using a 12mm long, 2mm diameter bolt.
 That’s as far as I’ve got. Watch this space for the next developments….

I enjoyed reading this: it’s very useful and informative. How did you get the connecting rods off the loco? Was it difficult? How about getting them on again?
LikeLike
Hi Anthony, I’m glad you enjoyed the blog. Getting the connecting rods off was quite easy. First disconnect the drive rod from the rear wheel. The pin just pulls out. Then unclip the ‘crosshead’ part from the chassis. Then you can pull this part backwards out of the ‘cylinder’. The coupling rod is held in by one pin that also just pulls out. To reassemble everything, you just do the reverse. If you take your time and store the parts carefully it’s quite easy.
LikeLike