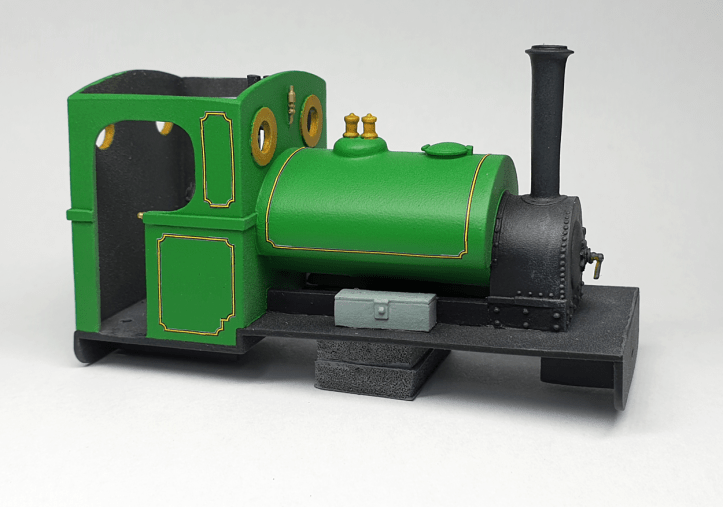
More progress on the O9 pug conversion this week.
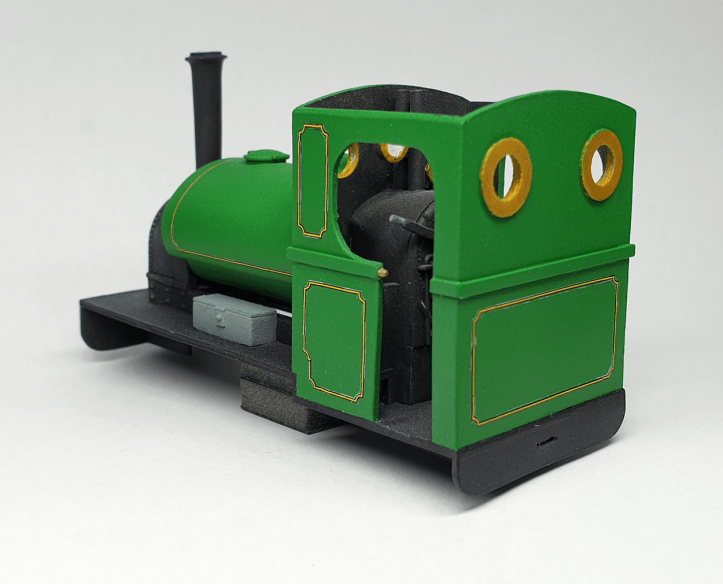
I’ve applied some lining to the loco.
The hardest part of the process was plucking up the courage to do it. I was thinking:
‘I like the loco as it is, what if I mess it up ?’
My solution was thorough preparation. On my work bench I organised four different types of tweezers, several craft knives, a pair of fine scissors, some tissue, cotton buds, brushes in a variety of shapes and sizes, a ruler, little pieces of cardboard to use as spacers…
With every eventuality covered, I started.
When I applied the decals I found all I really needed was a cheap pair of tweezers, a fine brush and the occasional prod from a finger.
I’m quite pleased with the job. Plus, I haven’t ruined the loco 🙂

Fantastic job Steve! That lining makes all the difference but I can understand the hesitancy – been there myself and on some occasions didn’t come out the other side!!!! However practice makes perfect as they say! You might want to add cocktail sticks to your set of decal prodding and moving tools – they can be very useful as well as for stirring paint.Looking forward to you getting the chassis under this body – it should look fantastic!. Woody
LikeLiked by 1 person
Hi Woody, Thank you! It’s the most elaborate lining job I’ve tried so far and I’m pleased you like it. I didn’t have cocktail sticks to hand – but I’ll definitely add them to the list. The fine points will be very useful. Thanks for the suggestion.
I’m looking forward to seeing this loco running too. I just need to add some cab details … and a roof. Although the driver might appreciate the air on a hot summers day 🙂
LikeLiked by 1 person