Thomas and Sons needs a permanent lighting set up to illuminate the scenic area of the layout. After a little reading around I opted for strips of LED lights that are used to light kitchen worktops.
A five metre (16 foot) long strip of lights was delivered through the post. Wiring it up to check it worked seemed like a good idea and when I flicked the ‘on’ button I must admit the sight of five metres of little lights lighting up brought a big smile to my face!
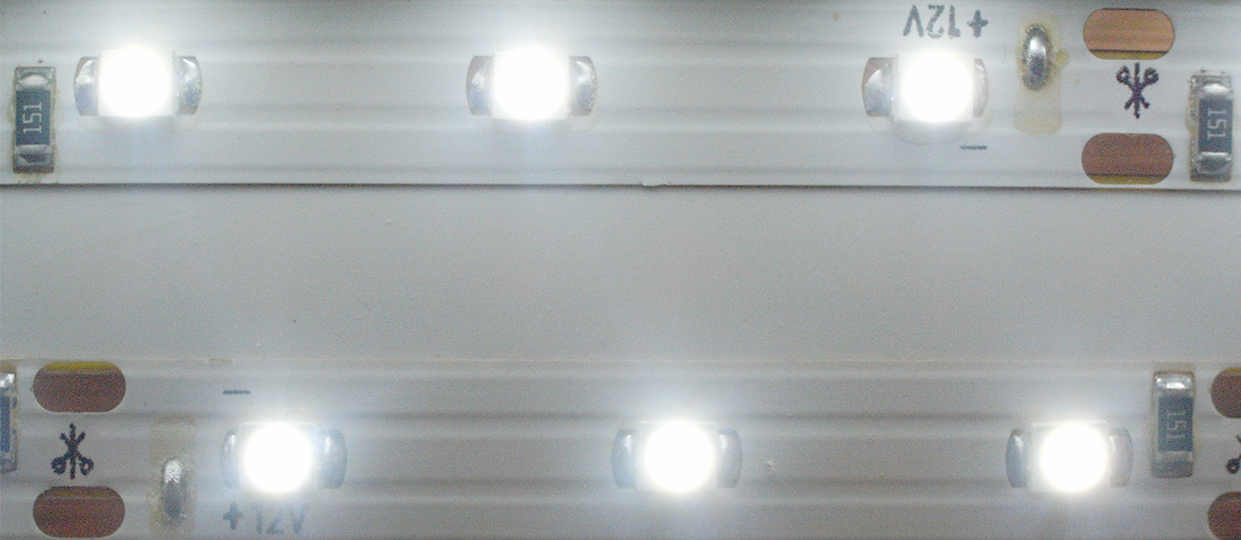
The LEDs were stuck to a short length of right angle plastic molding and wired up to a dimmer switch. The soldering iron from the O Gauge Guild second hand stall worked perfectly for this job.
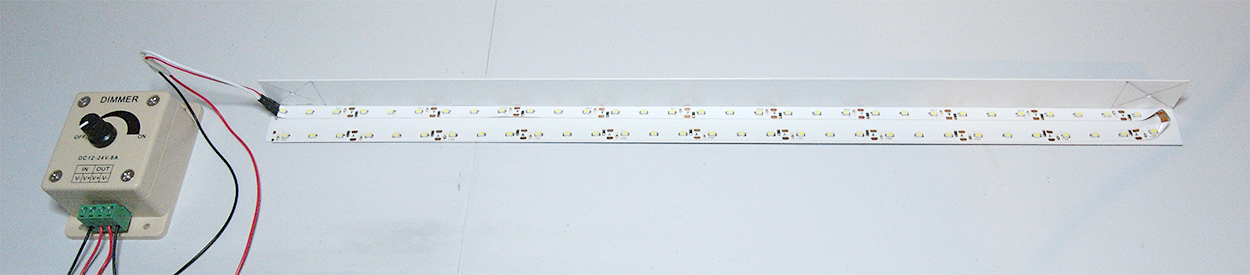
The plastic was mounted on the inside of the front fascia of the layout. Two small screws were used. The plastic is quite rigid so no further bracing was required.

Here’s a picture of the layout with the lighting in place. Taken with a compact camera, handheld at 1/12th of a second, it is not the perfect shot. Professional layout photographers will shake their heads in horror. However, it will give you an idea how well the LED lights work. The lighting will need a little tweeking to make it more even, but it’s not bad for a couple of hours work.

Finally, a little note about the types of LED you can buy. Initially I brought a strip of LEDs with a ‘daylight white’ colour balance (4500K). I found this a little too yellow for my tastes. In the end I used a ‘white’ LED (6400K) which gave a colour that I preferred. It’s just personal taste. Perhaps I prefer the whiter light because the lamp I use above my modelling bench is has a 6500K bulb and I’ve become used to it. Experiment or ask around at exhibitions to see which wavelength you prefer.

Reblogged this on sed30.com.
LikeLike
Many thanks for all the reblogs 🙂
LikeLiked by 1 person