This week I’ve made a start on track laying.
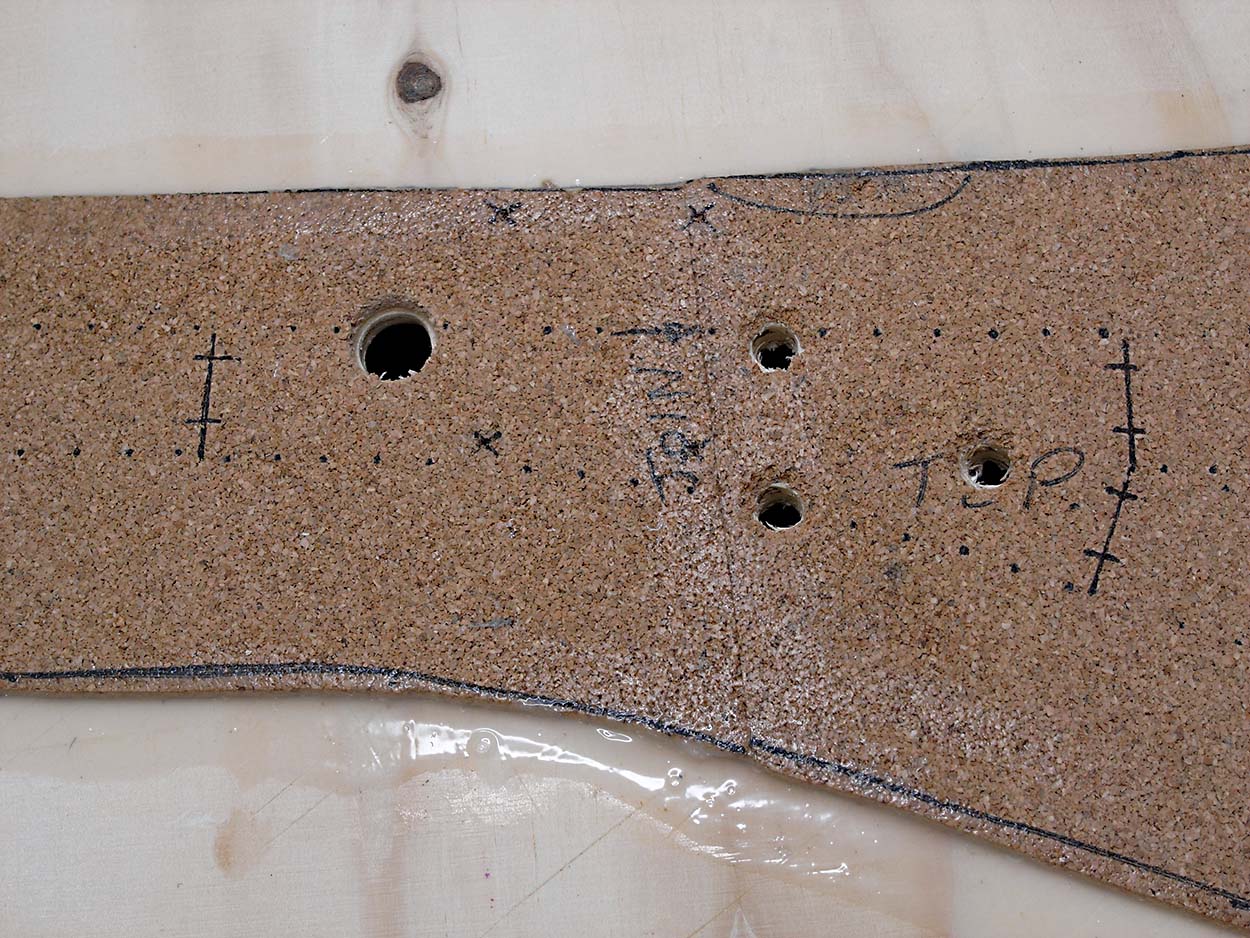
To fit the points I needed to drill eight holes:
- a hole for the throw arm from the point motor
- four small pilot holes for the screws to mount the point motor to the baseboard
- three holes for the wires connecting the point to the electrics (the two wires to power the rails and the wire to power the frog).
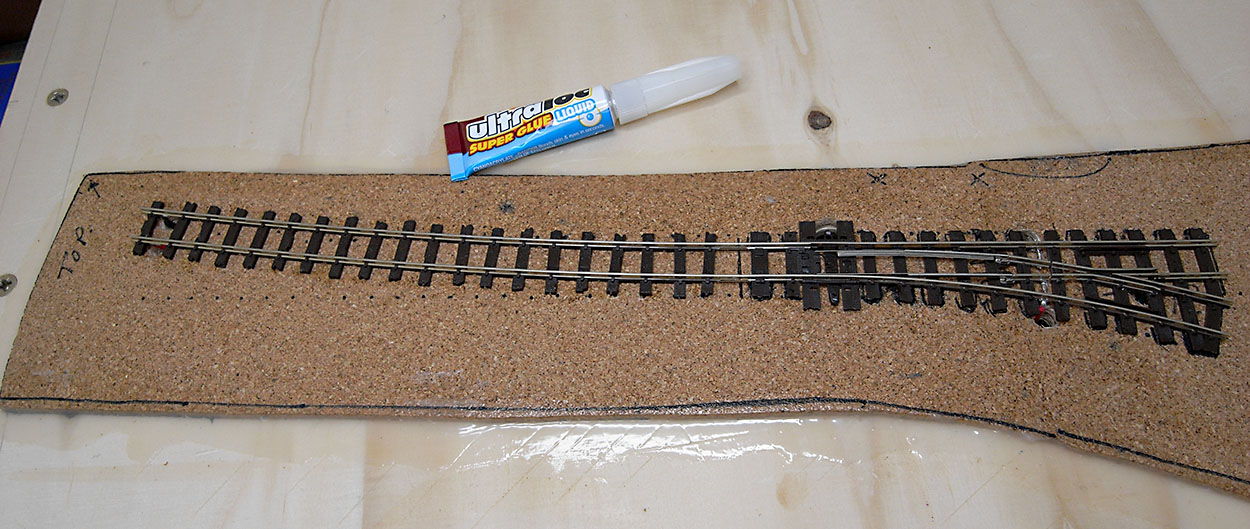
The photo at the start of the blog shows all the holes.
Drilling holes is easy, but it wasn’t a quick job. I must admit I spent ages measuring the positions to make sure I drilled the holes in the right places!
Cobalt provide very good instructions with their point motors. However, they don’t supply a template for where to drill the holes with the point motor (although they do provide one at extra cost). I made my own template from a scrap of paper, and it was a really useful to position the holes correctly.
After the measuring and drilling it was a straightforward job. I fitted the point motor underneath the baseboard.
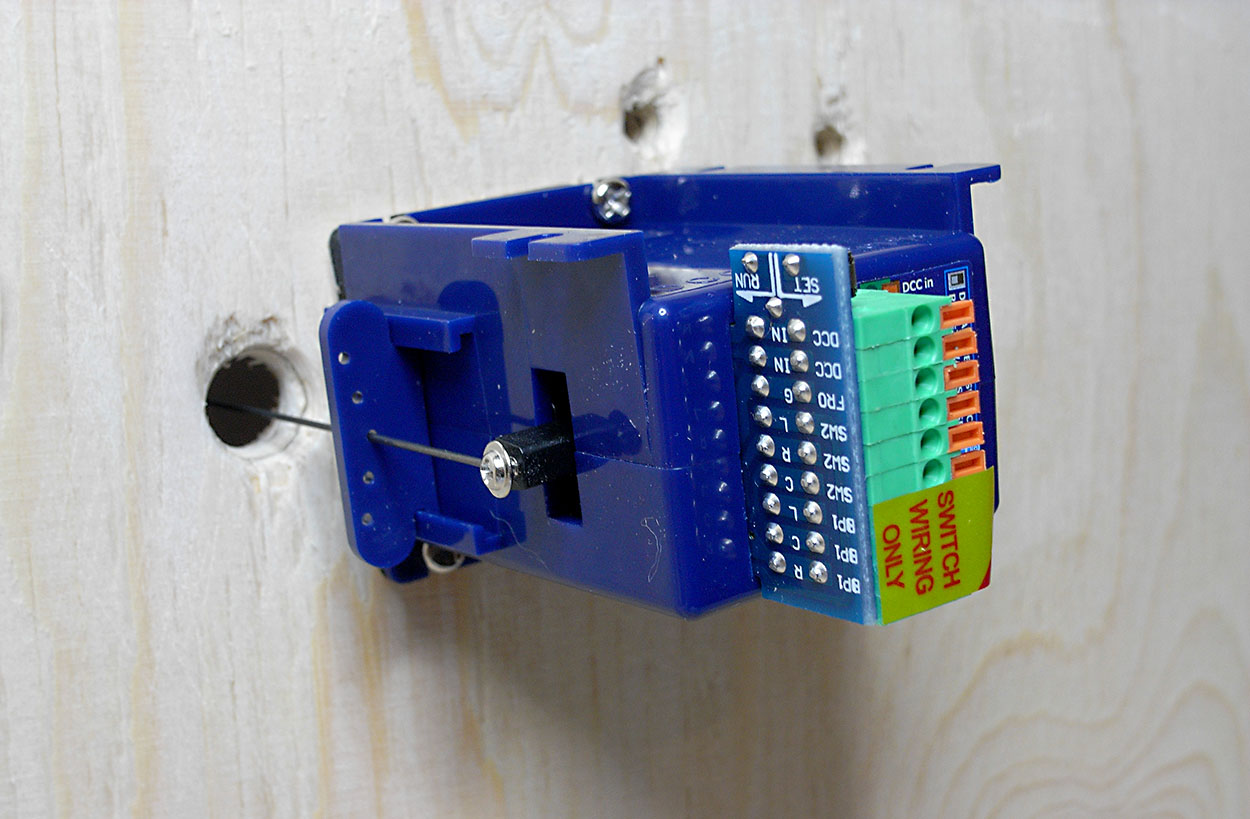
The throw arm pointed up through the hole in the baseboard.
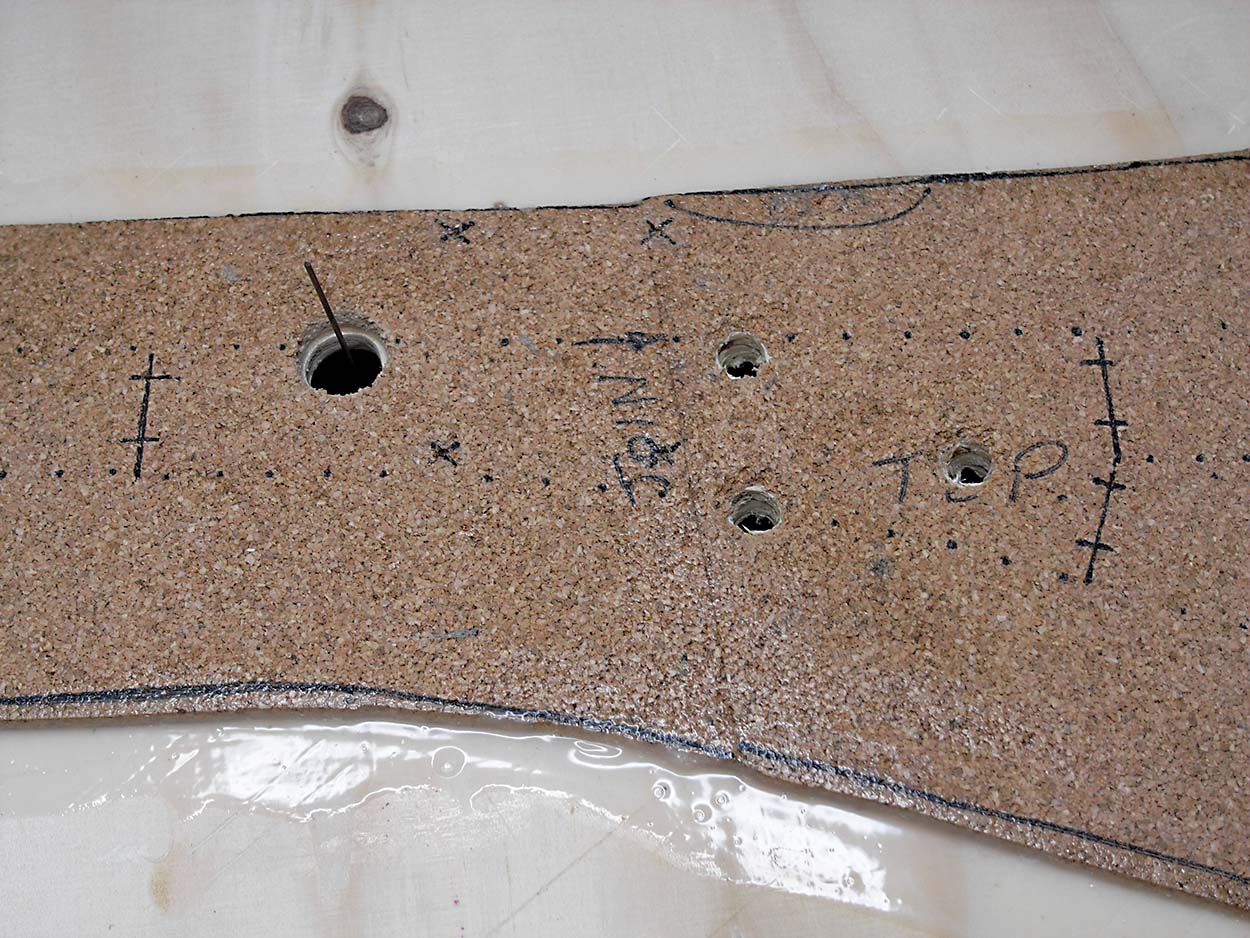
It was easy to lower the point into place, feeding the throw arm into the tie bar of the point and feeding the three electrical wires down into the other holes.
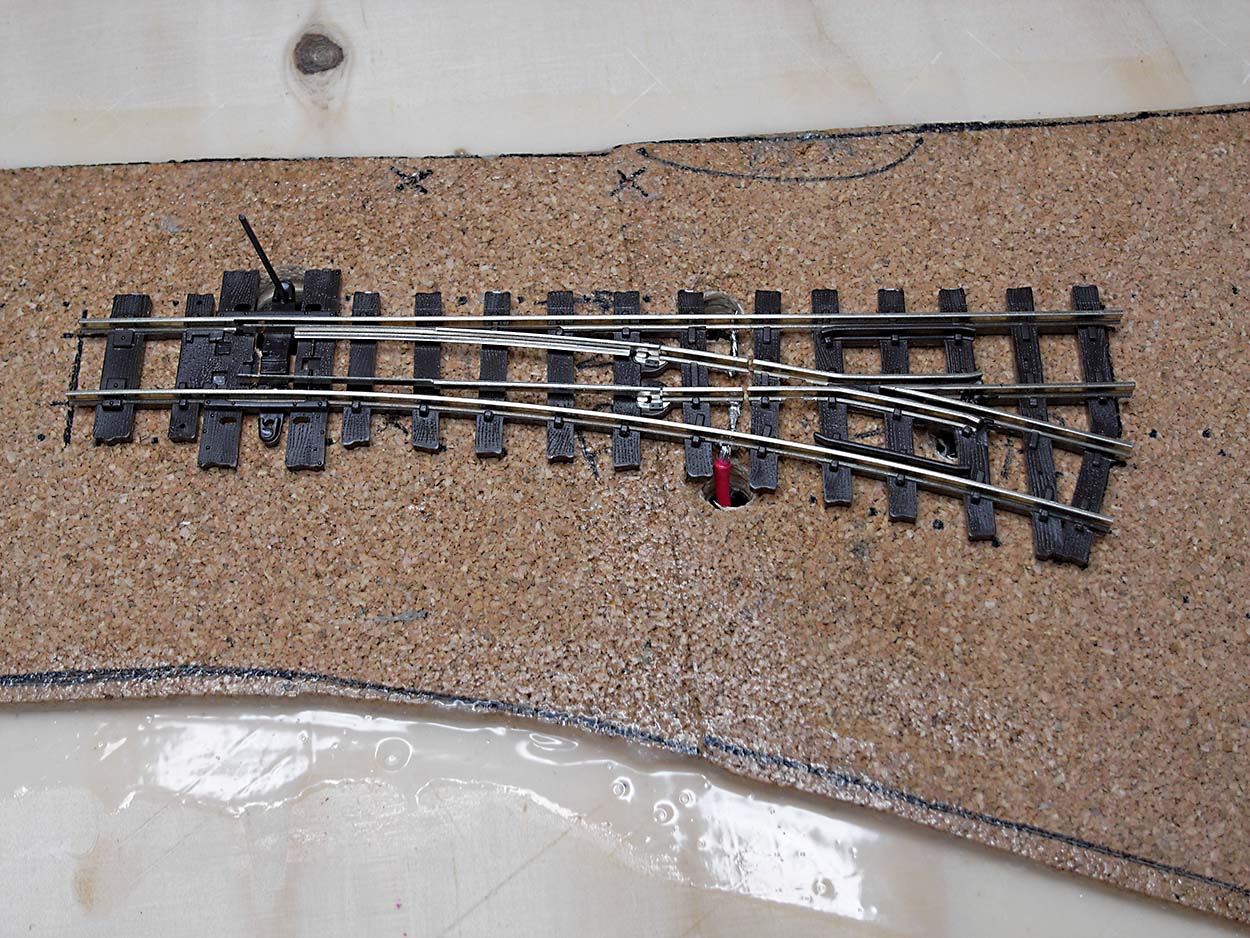
When I was happy everything was in the right place I glued the point, and the track for the head shunt, in position with a few blobs of superglue.

Look forward to watching this layout develop.
Saw a short film of “First” from narrow gauge south on you tube, it looks fab 👍
LikeLike
Yes, I think this layout is going to happen now 🙂
I haven’t seen the video of First I will look out for it. Thanks for the encouraging comments about First !
LikeLike
Reblogged this on sed30's Blog.
LikeLike
Thanks for this reblog Sed.
LikeLiked by 1 person