
A few months ago I brought two Avalon Line 09 coach kits and I’ve just started to build them. This is the Semi-Open coach. It’s a nice kit, there’s a little bit of flash, but that is very easy to remove with a sharp knife.
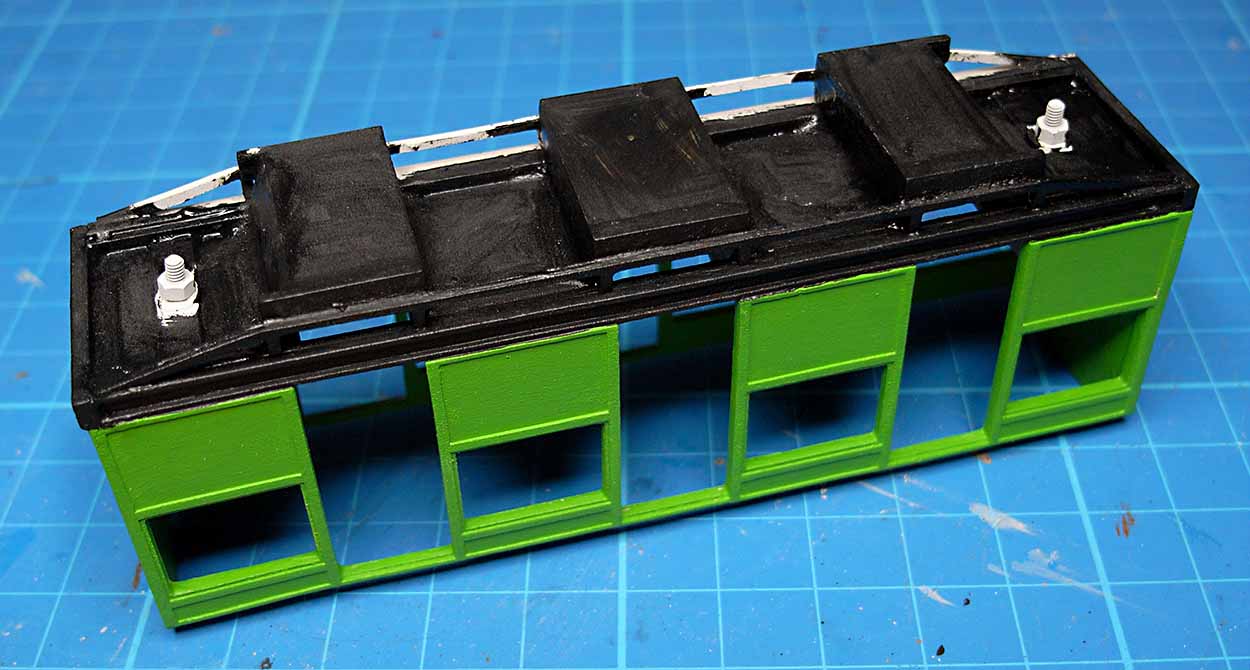
The first step was to add the foot wells to the chassis. They have to sit flush with the top of the chassis so I turned the chassis up side down, pushed the foot wells into place until they were touching my cutting mat and glued them from below.

It’s clearer to see when it’s the right way up.

The seats are four separate mouldings, and were very easy to position. I found I had to remove a small part of the seats at each end to enable me to to mount the bolts for the bogies through the chassis.

The next step was to add the body sides and coach ends. The parts aligned well and this was very straightforward. After that I added the truss rods to each side. This was a little more fiddly because the parts are very flexible and I needed lots of fingers to hold all the points of contact in place while the glue dried. I was pleased, after a small number of steps, it definitely looked like a coach!

Next step was the primer. I used Citadel Corax White, which is a very pale grey.

I started to paint the coach. Here it is partly painted. It was then that I realised I had a problem. The paint looked very rough, rather like a low quality 3 D print. For some reason the primer had created a rough finish and when I applied the paint this magnified the effect and made it very visible.
I was disappointed and I put the coach into a drawer for several weeks while I figured out what to do. I hated to admit it, but there was only one alternative. I had to sand down the paintwork and repaint the coach…
