In the 7mm Narrow Gauge Association handbook ‘Going Minimum Gauge’ Colin Peake wrote a really good ‘step-by-step’ article showing how to build freelance miniature railway coaches. The article describes how to make a four wheel, eight seater coach. At the end Colin included a photo of a 12 seater bogie coach that you can build using the same approach.
I particularly liked the bogie coach and I decided to try to build one. I’ve never made anything with bogies before. I contacted Colin and he gave me some good advice on which bogies to use and how to brace the underside of the carriage. Thanks Colin!
Armed with all this info I could start.
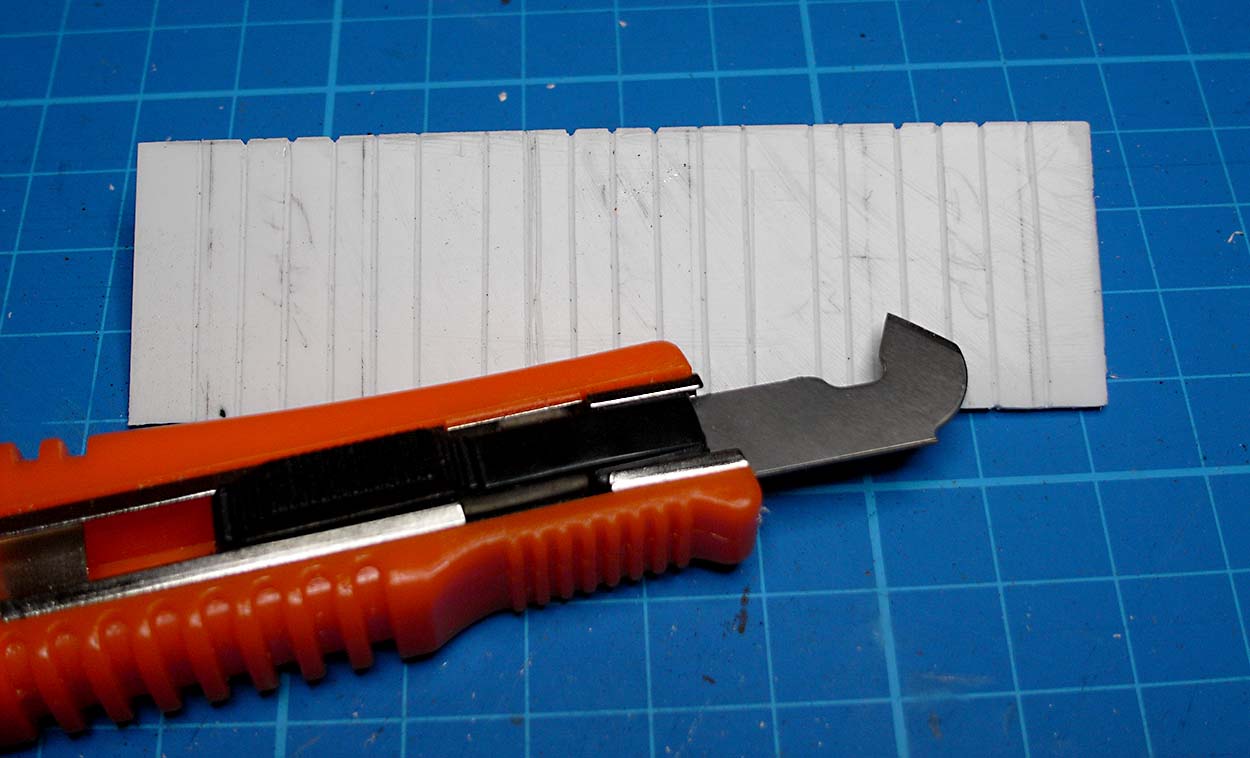
First, I made the floor of the coach from a 88 x 26 mm piece of 1.5mm thick plasticard. I scored the card at 4mm intervals to represent planking.
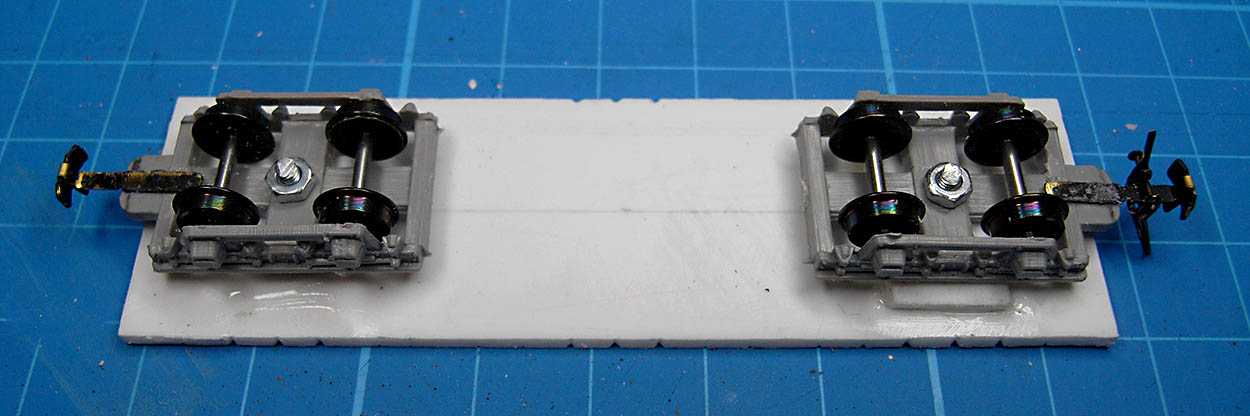
I decided to mount the bogies on 2mm diameter bolts. These fit nicely through the existing hole in the Parkside Dundas bogies. I made two pieces of plasticard, drilled a 4mm diameter hole in each one, and araldited the heads of the bolts into the holes (see left hand end of chassis).
The flanges of the wheels protrude slightly above the top of the bogies. I made two small spacers from 0.5mm plasticard (see right hand end of chassis). These increase the gap between the plastic mounts and the bogies and stop the flanges catching on the plastic.
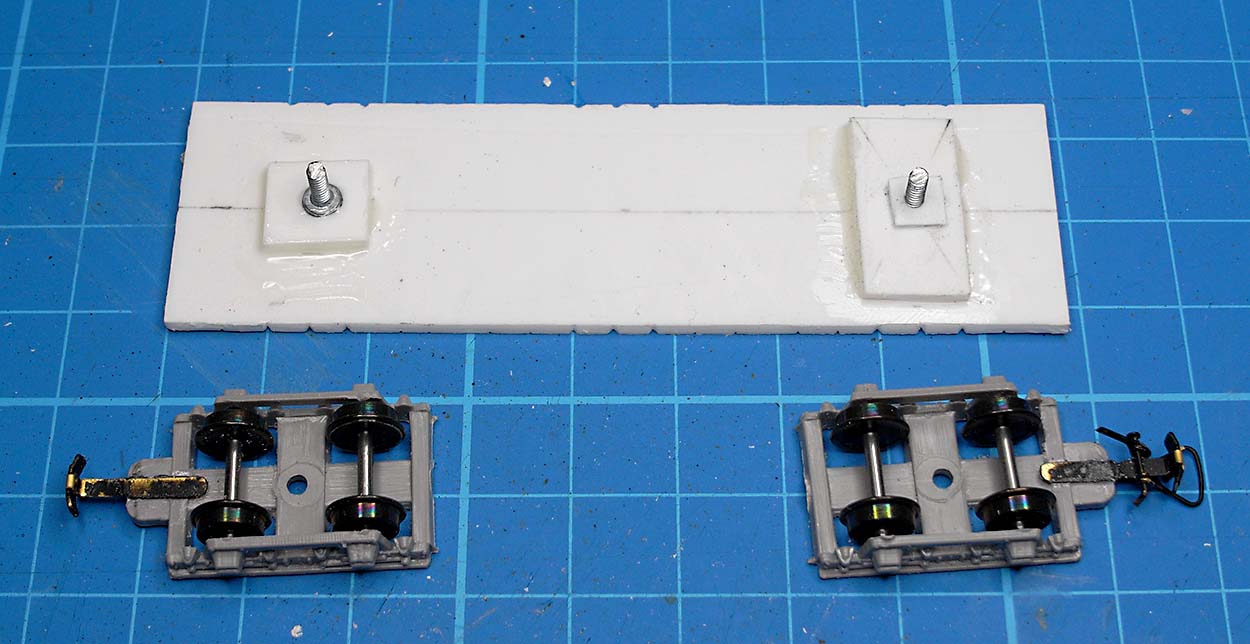
The bogies are held in place with small nuts.
As this is my first bogie vehicle, I wanted to test it before I went any further. I tried it on my test track, weighted down with the first piece of lead that came to hand. I was pleased to see it negotiated the 9½ inch (approx. 24cm) radius curves on the test track without any problems (click the image to view the video).

Great 🙂 Now, on with the rest of the build.
