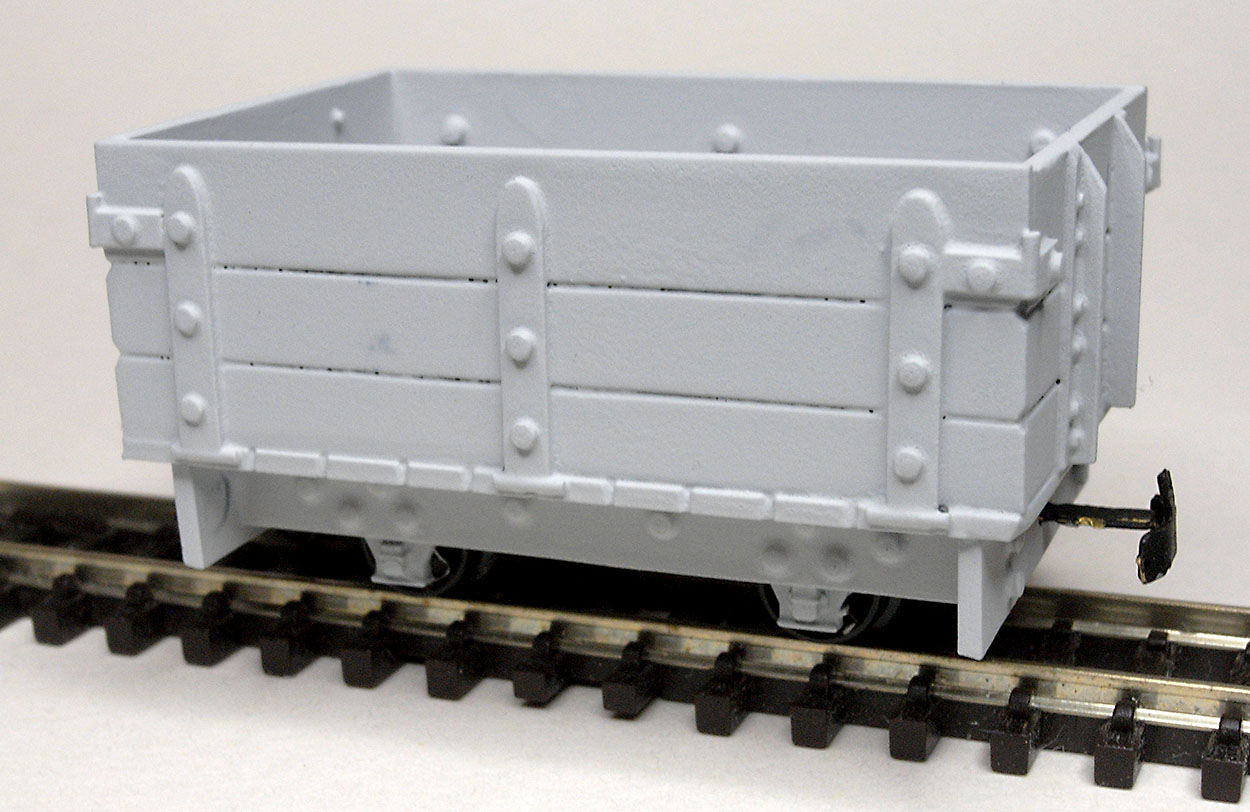
 I’ve built another O9 wagon, this time an open wagon. The approach was the same as for the flat wagons: a Peco chassis, and plasticard for the floor, sole bars and buffer beams. This time I added an additional four pieces of plasticard to create the side walls of the wagon.

The basic structure is a simple box.
 I’ve added some details: 1.5mm ‘L’ shaped angle on each end, and some 2mm wide hinges on the sides of the wagon.

To give the impression of bolts I added short pieces of 1mm diameter rod on the hinges and sole bars, and 0.5mm diameter rod to the angle iron on the ends of the wagon. Adding the 1mm diameter rod is quite easy, but adding the 0.5mm rod is much more fiddly.
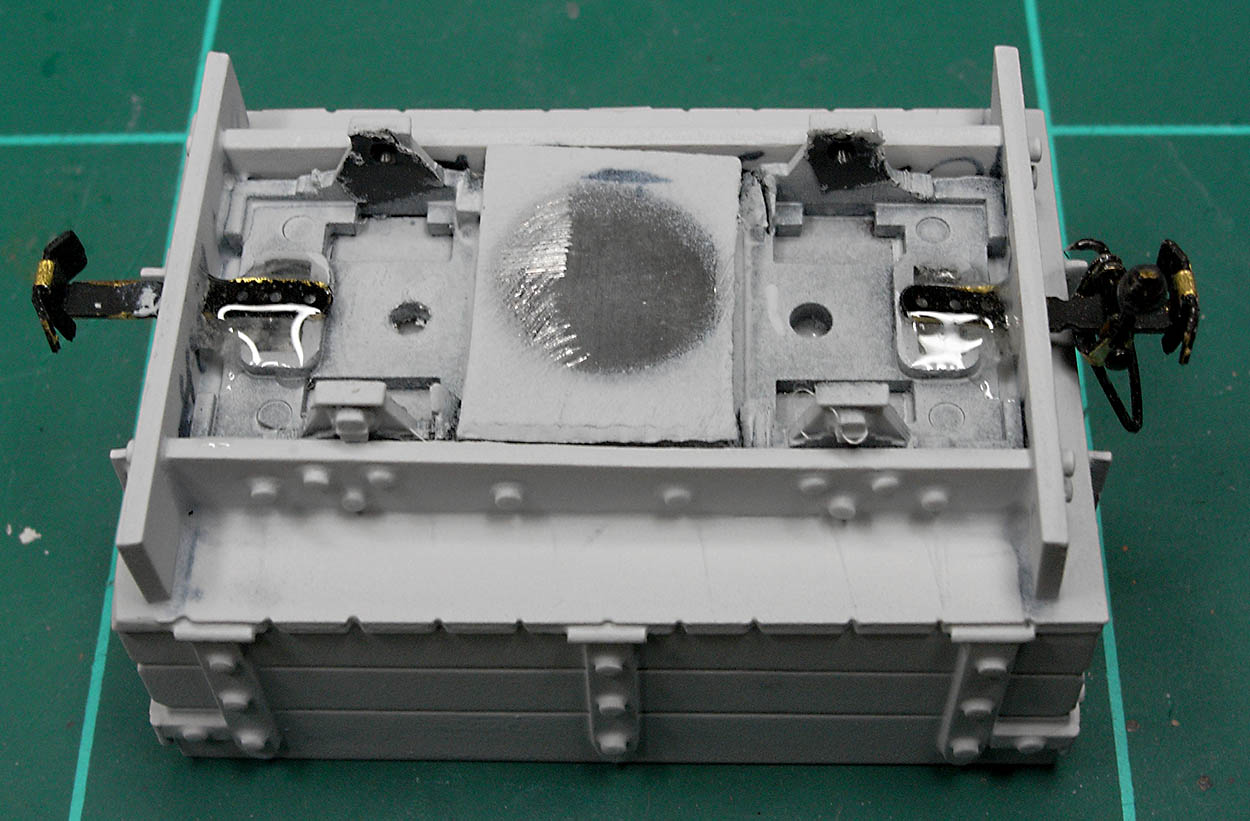
 When I spray paint my wagons I attach them to a short piece of wooden dowel with blu-tack. I hold the dowel while I spray the wagon.
A piece of lead adds weight to the underside of the wagon. The couplings are held in place with epoxy glue. You can see the lead is visible where the blu-tack masked the primer.
 I started this wagon at the end of December and it has taken me to the end of January to finish it and apply the primer. I haven’t decided what colour to paint it yet. It will not be grey. All of my 009 wagons are grey and I fancy something different!

looks very nice,
what couplings do you use?
we need to see some moving pictures of the stock you’re building 🚂
LikeLike
Thanks! I’m using Greenwich couplings. I use them for OO9, they aren’t too big and they seem to look OK for O9 too.
Moving pictures… good idea. I’ll see what I can do. I may paint the stock first.
LikeLike
[…] construction was essentially the same as the open wagon I made. The fake sole bars, floor, sides, hinges and rivet details were made from plastic card and […]
LikeLike