
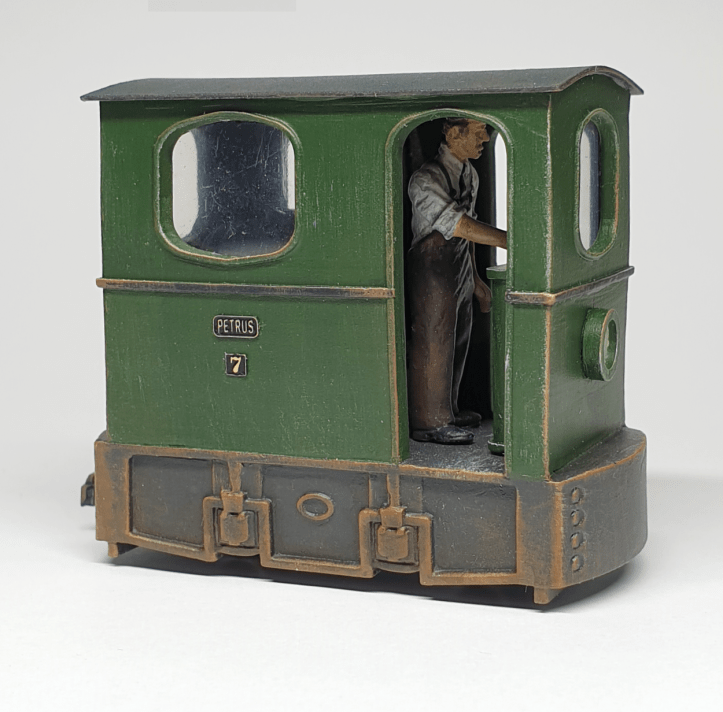
As you can see the little Schaefer locomotive has been completed.
It was an enjoyable build. Let’s look at the final steps.
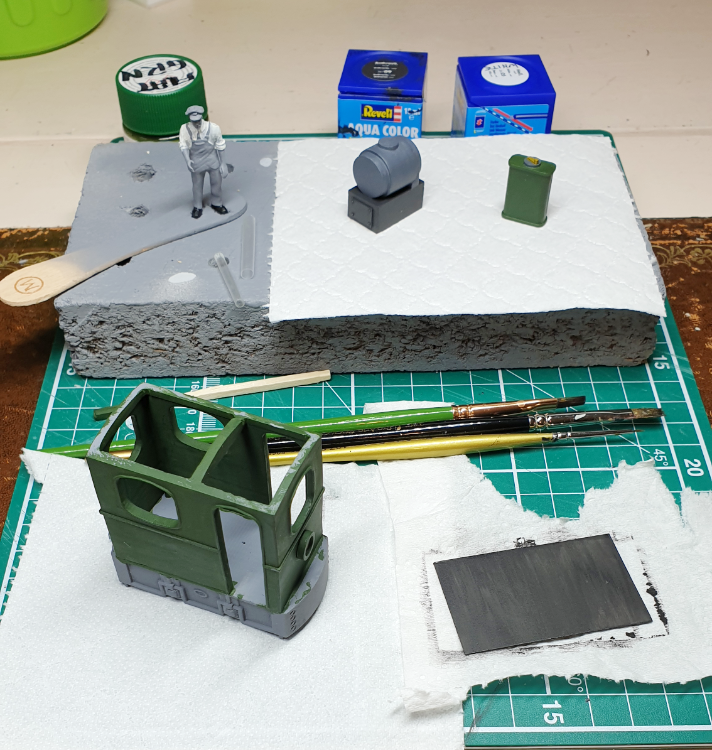
With the parts prepared and painted in primer….

… it was just a matter of painting the pieces…
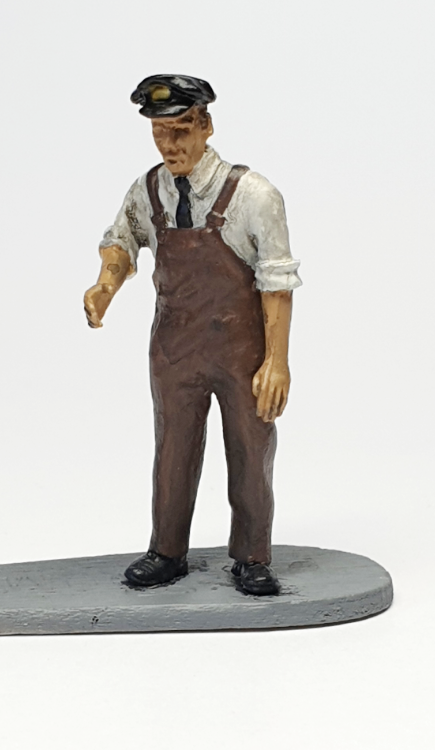
… including the driver…
… then assembling the interior of the loco.

As you can see I masked the loco so I could paint a black line around the body.
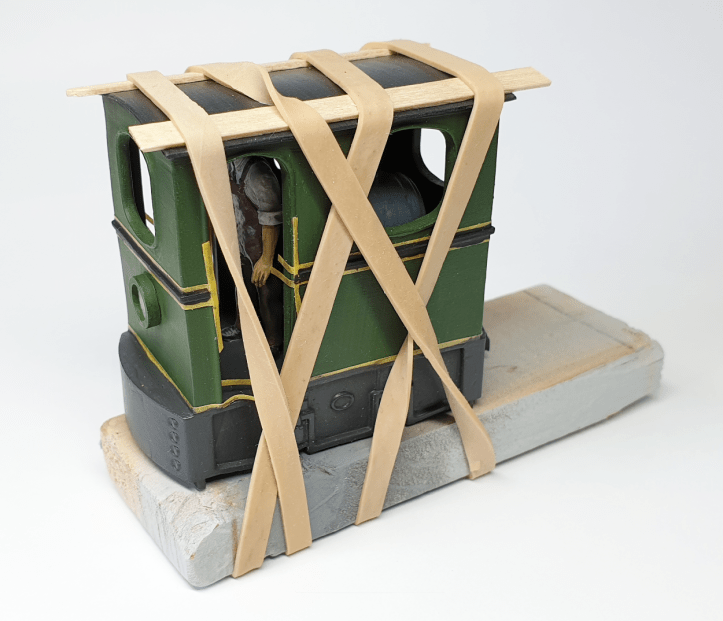
The roof was stuck on and held in place while the glue dried.
The control panel is detachable. It covers up the wiring and the LED for the headlight. If the light stops working I’ll need to get access to fix the problem, so a detachable unit made sense.

The name and number plates are custom etches from the excellent Light Railway Stores.
The last steps were to apply some matt varnish then add the glazing. It was a little fiddly to pass the ‘panes’ through the loco body past the driver and the motor but not too difficult. I’m learning to be more patient with jobs like this.
I really like this loco, it has a lot of character.
Many thanks to Peter (Glucosamine on the NGRM forum) for sharing his design for this loco with me. Much appreciated Peter !
Finally, here’s a little video of the loco running.
For the ‘paint spotters’ (and my records!): the main body is Tamiya Flat Green (XF-5), the chassis and roof Revell Anthracite (36109), the black line Revell Black (36108) and the varnish Citadel Munitorum.
You can read all the stages of this loco build here.

Lovely build.
LikeLiked by 1 person
Thanks Jeremy 🙂
Credit must go to Peter who did the original CAD design – it was easy with his design!
LikeLike
That’s absolutely charming, Stephen. You’ve done a lovely job of the loco.
LikeLike
Thanks Chris. I must admit it was a fun build. It’s quite a short loco but because of the height it feels quite substantial. It feels nice to hold in the hand 🙂
LikeLike
Dear Steve
A smashing loco and very niceley finished a nice touch the head light. I always like the effort you put into getting the driver right the arm direction ect, a lot of people think of the putting the driver in as a last minuite thought, just stick any figure in. I have always liked O gauge figures they are nice to pose I bought a few the other day going cheep on ebay always handy. The size of the loco make me think DCC could be fitted. I looked at Peter’s 73 ish comments on the NGRM site, some very intersting narrow width locomotives he talks about. I was impressed the lengths you went to getting your finished loco right. I would like to get hold of the body and build one myself.
Roger
LikeLike
Hi Roger Good to hear from you. I hope you are doing well.
Thanks for all the positive feedback. I like doing certain detailing things, it’s a lot of fun. Although I’m trying not to be a perfectionist – I didn’t add the pantograph that Peter designed !
If you want to build the loco yourself can I suggest you ask Peter ( Glucosamine on the NGRM forum ) if he’s happy to share the design with you. If he’s OK with this I can share the version with the slightly reduced height with you.
You will of course have to get it 3D printed. I’d like to help you there but I don’t feel I can recommend the person I used to make the print. The print wasn’t square and true, and this made the build more complicated – lots of filing and filling which I wouldn’t want to inflict on you!
All the best Steve
LikeLike