 I’ve written several blogs about things I think would make great models, but I’ve never built any of them….
Well, the tool van on the Kirklees Light Railway has won me over and I’m going to make an O9 (On18) model based on it.
I thought I would try 3D design and printing for this model. In the past I’ve struggled with 3D design software but someone suggested TinkerCad. It’s software designed for children… and, yes, it works for me 🙂 True, it has a few quirks but the tutorials are very useful and it’s easy to get started. The design is shown at the top of the blog.
My FDM 3D printer gives visible ‘layers’ in the final object. I decided to print the model as flat parts to see if this would reduce the ‘layering’. It took a few hours to print and it was fascinating to see the pieces slowly being built up. Here’s the print on the print bed.

Printing flat parts wasn’t without it’s drawbacks. The upper surfaces of the pieces have visible lines.

The edge of each piece is called the ‘wall’ and this is fairly smooth. The centre of each piece is called ‘infill’. This is printed more quickly, and the lines are where the printer has printed the ‘infill’. I tried a few different print settings but I wasn’t able to remove the lines completely.
(Thinking about it now, it may be possible to increase the wall thickness to remove or reduce these lines. I didn’t try that, but I will).
In contrast the surfaces that were touching the bed are pretty smooth. My plan is to use these as the visible, outside, sides of the van.

My 3D printer isn’t great at fine detailing, so I decided not to try to print any fine details 🙂
Instead, I added some extra detail made from plasticard and plastic sections. It’s easy to stick the plasticard to the PLA with high viscosity super glue.
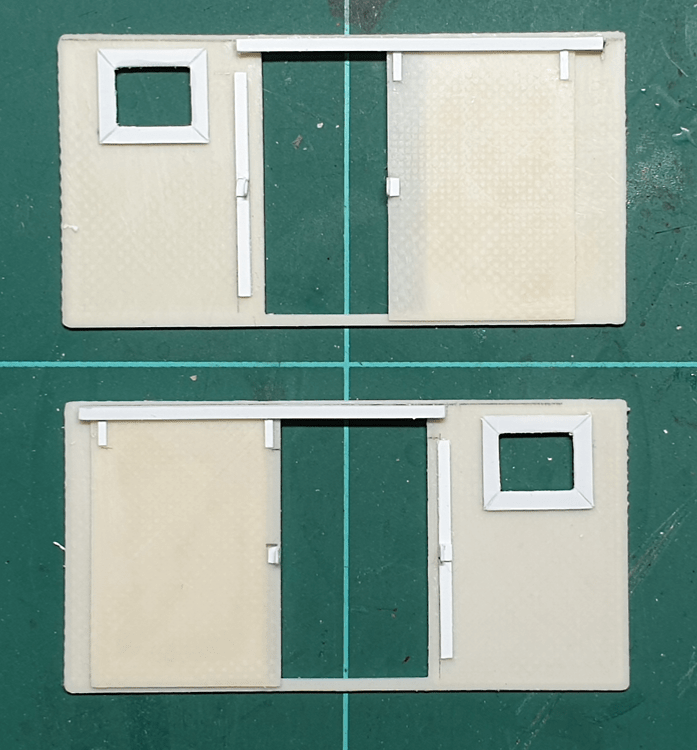
It’s not complete, but it’s been fun so far. I’m pleased I’ve been able to do some 3D design. Even if it is simple rectangles with holes in – it’s further than I’ve got before! Plus it’s fun to chop up plasticard and add the details.
Next step will be to see if the parts fit together 🙂

But you could have just cut flat styrene sheet in a fraction of the time. Maybe you’re a lot younger than me, but you come to regret losing that time I get my son to 3D print stuff for me that saves time, from free files.
LikeLike
Yes I could, but I wanted to try 3D CAD. For me, time spent experimenting and learning new things is time well spent.
LikeLike
When I was still working (as a teacher), and 3D printers were beginning to come down significantly in price, I tried to persuade the Head of the Design and Technology Department to buy one as they would be “the future”. Unfortunately I failed, I think she suspected an ulterior motive.
LikeLike
It’s always worth trying 🙂
In one company where I worked they spent a fortune building new labs for us. We were allowed to input into the design and ask for “whatever we needed”. Strangely, my request for a built in stereo surround sound system was rejected 😦
LikeLike
Dear Steve
Love your tool/works van there is another interesting one with a windscreen on the Windmill Line but this should look really good with all the tools inside. On the point above where I worked development MOD labs the management encouraged music while you work, it promoted a team atmosphere they said. Keep up the excellent work.
Roger
LikeLike
Hi Roger, Thanks, I’m glad you like the van. For the interior the trick will be getting it to look like a real working van…. Your management were enlightened – Music is essential in a lab (and for modelling, although comedy programmes on the radio are good too). Cheers Steve
LikeLike