 For my new layout I want to try a couple of things that I’ve never done before. These are DCC control and Cobalt point motors.
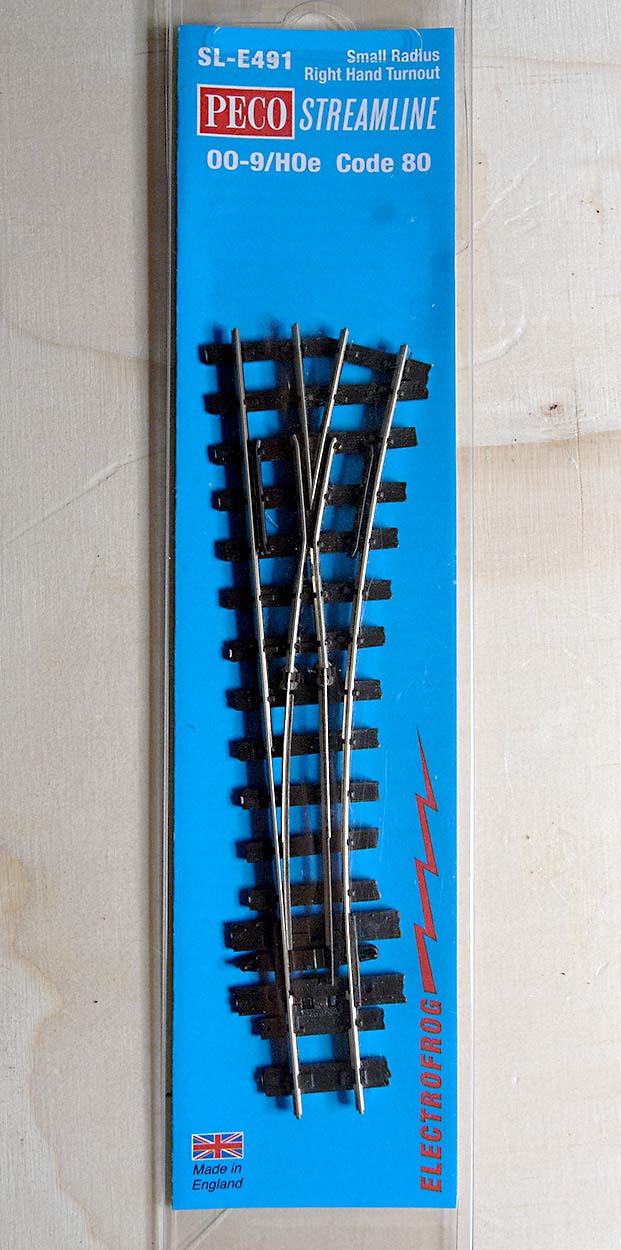
Peco points (called switches in the USA) are great and work well straight out of the box but to get the best from DCC and Cobalt point motors it’s a good idea to adapt the points. So having spent good money on these nice new points, I’m going to modify them!
I decided to do the easiest job first. Cobalt point motors have a positive action that holds the point tie bar in place. There is no need for the point to have the over-centre spring to lock the tie bar in place. The springs are easy to remove. I used a fine pair of pliers to remove the spring from the tie bar. Then I eased the other end of the spring out from under the retaining cover. The modified point is on the right.

Now to make the points DCC ready. There’s a very good guide to modifying points for DCC here so I will not go into great detail. In brief…
As the Peco 009 points are an older design and the first job is to cut the closure rails to electrically isolate the point rails from the frog. For my first attempt I used a cuting disc in a Dremel drill to do this. You can see this in the photos below, just above the black and red wires.
Next, to provide current to the switch rails (the moving parts of the point), you need to solder a ‘jumper’ between the stock rails and the closure rails. I simply soldered the red and black wires in place so they bridged, and joined, these two rails.
Finally, you need to make the frog live so that the point motor can change the polarity of the frog. I did this by soldering the green wire to the frog.

The photos above show my first attempt at modifying a point. In some ways it was a success. Electrically everything worked well, the switch rails are live, the frog is isolated and can be powered via the green wire. This was encouraging, for someone who’s not an electrician! However, I melted the sleepers quite badly. I tend to put too much solder on when soldering. I guess it’s because I don’t feel confident that I’ll get a good join if I use less solder. However, more solder requires more heating and this has resulted in the plastic sleepers melting. I need to use less solder, apply the iron for a short time and remove the iron quickly.
I decided to have another go. On the NGRM forum, Mark Greenwood suggested using a fine piercing saw to cut the closure rails. I followed his advice and I found the piercing saw gave a much finer cut, was easier to control than the cutting disc and resulted in less damage to the point. This time, I was much more careful with my soldering, used less solder, and kept the soldering iron in place for less time. Plus, I allowed the point to cool for about one minute after I soldered each joint, before I soldered the next one.
The result was much better!

Now, I have four more points to modify….

Reblogged this on sed30's Blog and commented:
Handy tip for Peco points
LikeLike
Thanks for the reblog Sed 🙂
LikeLike