This week I’ve been getting my hands dirty building a small river for Springwell.
Click on a photo to get a larger version.

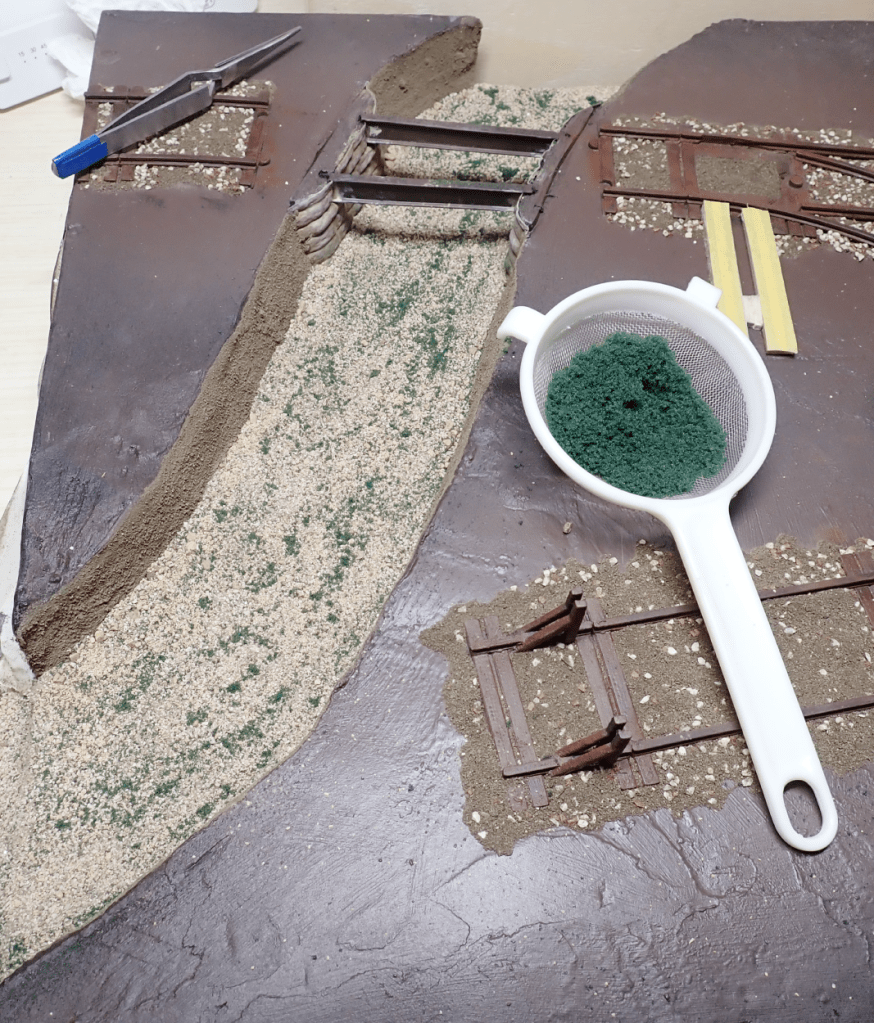
The first step was to prepare the riverbanks. I began by gluing soil along the edges to create a natural-looking transition between the landscape and the water.
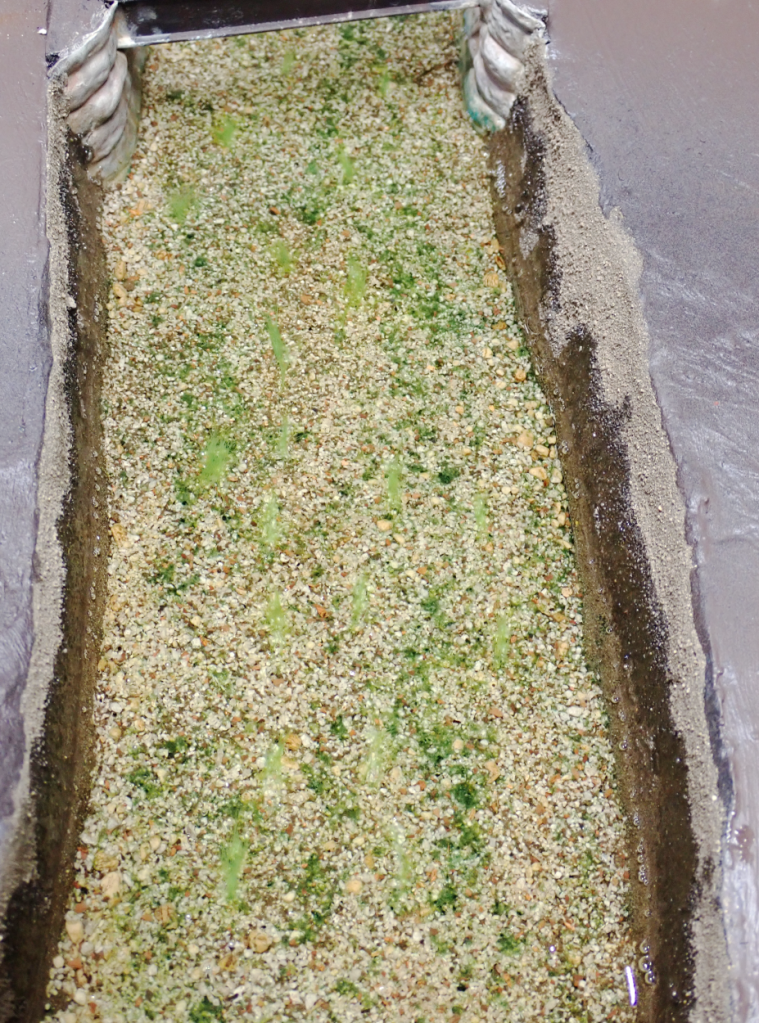
Next, I built up the riverbed using a mix of soil, sand, grit, and scenic scatters. This combination creates a varied, textured surface that mimics the gravelly beds you often see in real rivers.
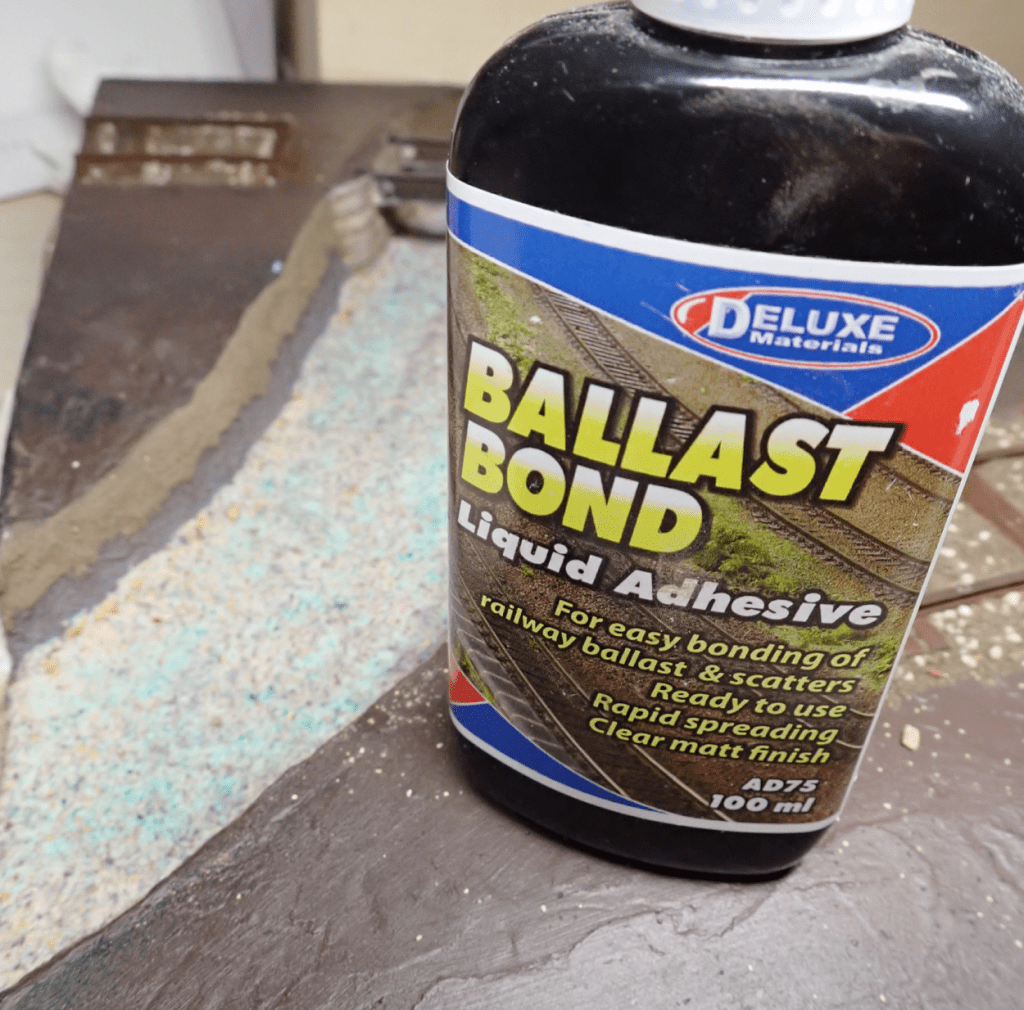
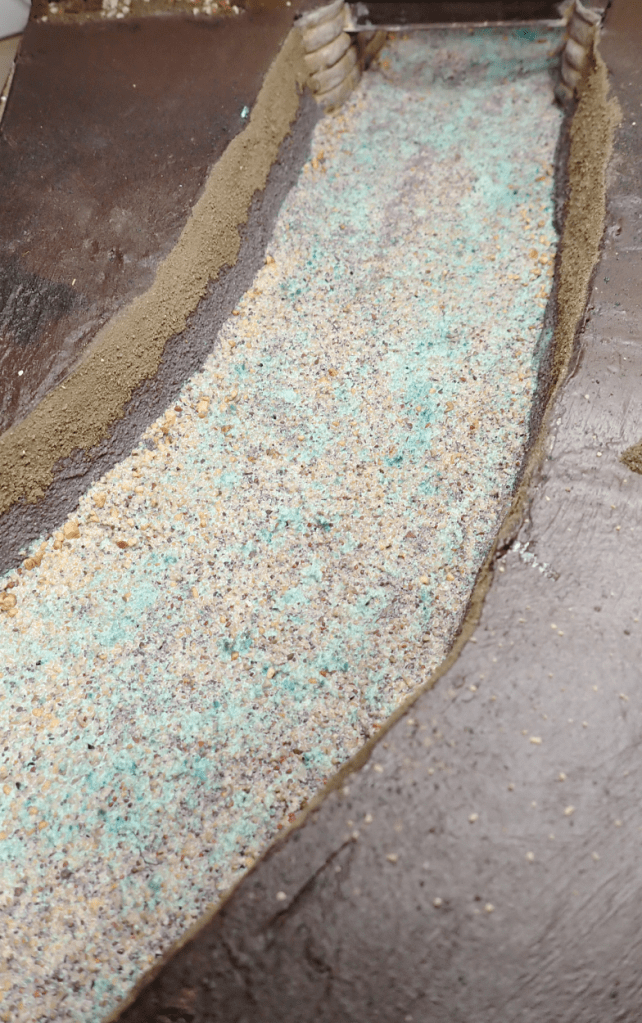
To fix everything in place, I used Ballast Bond, which has become my go-to glue for this kind of scenic work. As usual, once the glue is applied everything briefly looks terrible — a wet, messy patchwork of materials. Thankfully, once it dries the result looks much more natural.
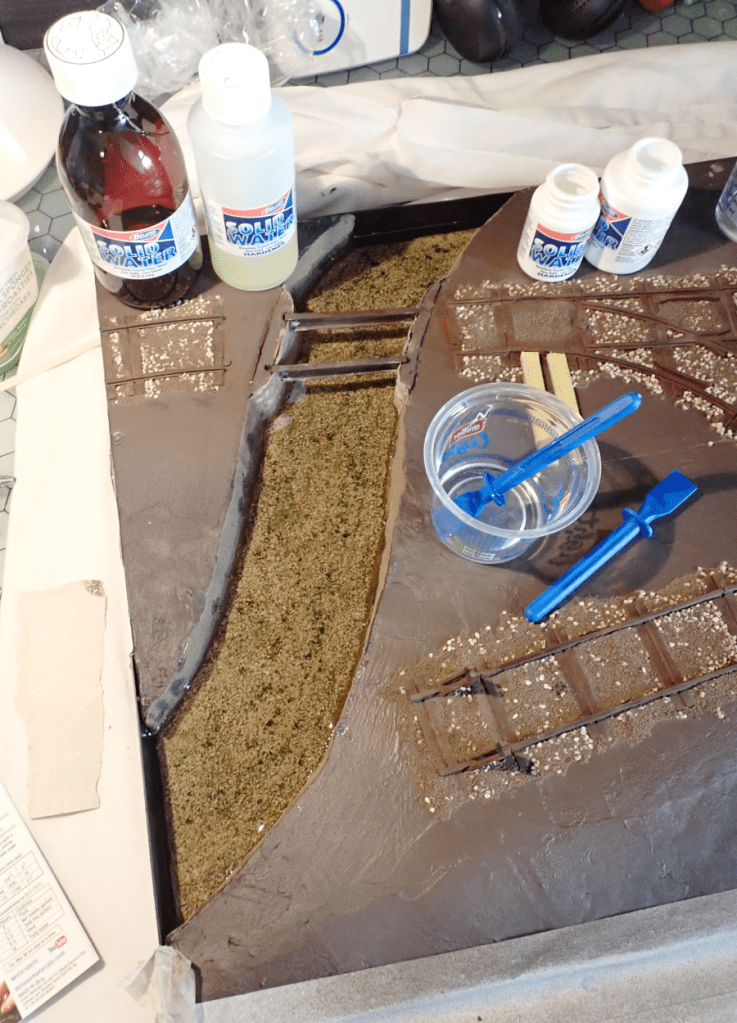
With the riverbed complete, I sealed the ends of the river and mixed up some Solid Water resin ready for pouring.
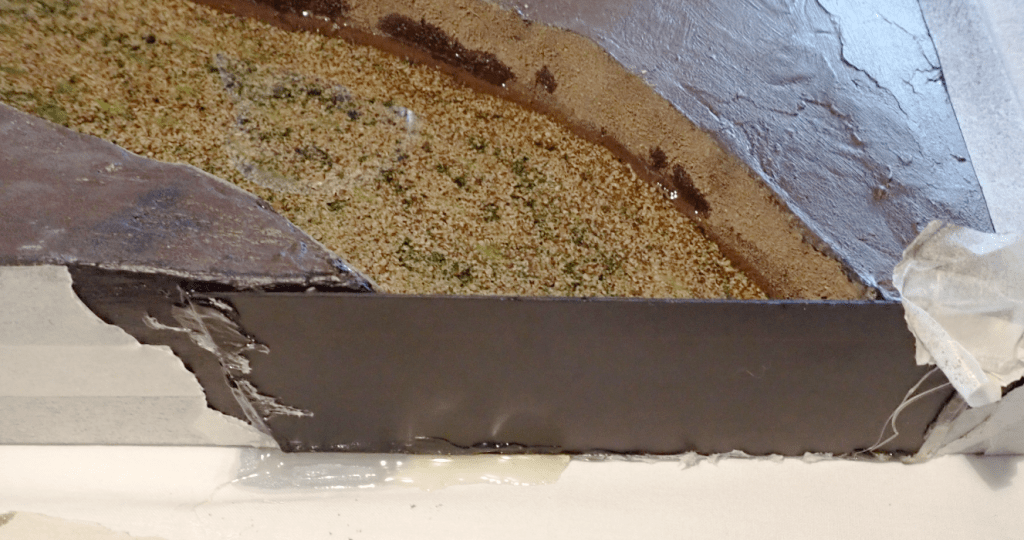
Despite my best efforts to seal everything carefully, the resin still managed to find a tiny gap and escape! It leaked onto the table underneath and, when it set, it had effectively glued the baseboard to the table. I eventually had to separate them using a wallpaper scraper — definitely not the most enjoyable part of the project.
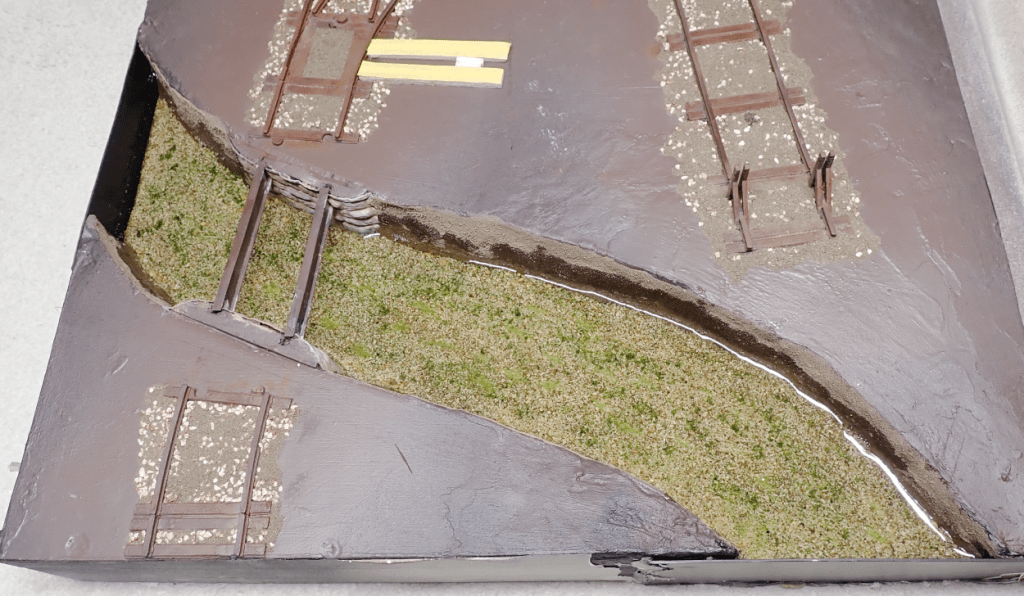
The resin itself is very easy to mix and pour, and it settles nicely to produce a smooth, level surface. After about 24 hours it cures into a clear finish that gives a convincing water effect.
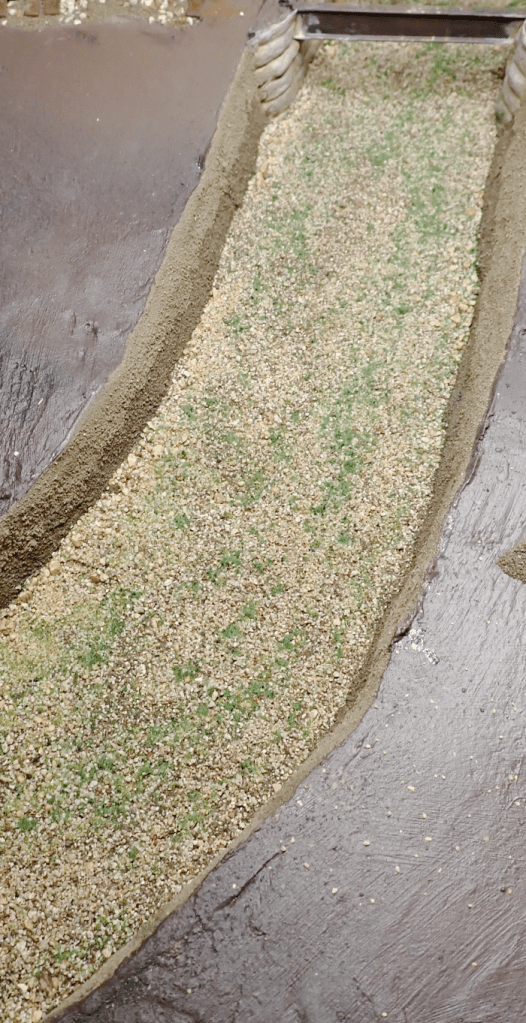
This is the first time I’ve modelled a river, so there was definitely a bit of a learning curve. Overall, I’m pleased with how the riverbed turned out. The gravelly texture works well, and the weeds add some nice detail. In fact, it reminds me quite a lot of some of the smaller rivers near where I live.
Ballast Bond proved particularly effective for this kind of scenic work. Because the sand, soil, and scatter are positioned dry, it’s easy to adjust everything until you’re happy with the layout. Once satisfied, you simply flood the area with glue. The Ballast Bond wets a wide variety of materials and, because it’s white when applied, it’s easy to see if you’ve missed a spot. Once dry it turns completely clear and becomes invisible in the finished scenery — definitely a thumbs up from me.
This was also my first time using Solid Water, and I have mixed feelings about it. On the positive side, the finished effect looks great. The water is clear and it creates a convincing illusion of depth. At certain times of the year, the small rivers around here look very much like this.
However, there were a couple of downsides.
First, as mentioned earlier, the resin is very good at escaping through even the tiniest gaps. I tried to create a solid seal using plenty of hot glue and large pieces of plasticard, but it still managed to leak.
Second, once the resin was poured, lots of air bubbles began rising to the surface. Every time I thought I’d cleared them all, more appeared. I tried to mix the resin and hardener carefully to avoid introducing bubbles, but it’s possible that air was trapped in the soil and scenic materials beneath the surface and slowly escaped through the resin.
Either way, I spent well over an hour popping and removing bubbles — which was also not particularly fun!
Before using Solid Water on anything important again, I think I’ll do a bit more experimenting.
Still, stepping back and looking at the bigger picture, Springwell now has a river — and I like it.
So that’s another job ticked off the list! 😃

Hi Steve, The delights of escaping resin. Had that happen to me but not glued the baseboard to the table! I take it that the table in question was not the dining table? I have seen reference made to running a small flame gun, the catering type, over wet resin to get rid of the air bubbles which might be something you would want to look into. I am concerned though that the river looks far too ecologically clean. No supermarket trolleys, bike frames or discarded oil drums seem to be present. Is this a deliberate ommision?
LikeLike
Hi Woody,
Yes, I glued the baseboard to my daughters desk. Luckily she was away for a few days, so she will never know. I’d be surprised if she reads this blog!
As for shopping trolleys… I model to escape the crazy real world we live in 🙂 There will be no litter, no graffiti, and no nail bars (What is the point of nail bars??!!). So the layout will be totally unrealistic, but it will make me smile 🙂
Thank you for giving me permission to buy a flame thrower. Now I can tell the wife that a flame thrower is an essential modelling tool. I might even ask for one for my birthday…. It probably has other uses too, might help me get a seat on the bus 🙂
LikeLike